Custom Post Types - Setup Guide
This setup guide will run through a typical setup of the Custom Post Types extension from start to finish.
Overview
The Custom Post Types extension lets you create Custom Post types to help you build more powerful and detailed directories. It leverages the powerful CPT feature of WordPress to create distinct listing types.
For instance, if you are creating a medical directory, you can use the Custom Post Types extension to create separate listing types such as "Doctors", "Hospitals", and so on. Each CPT can then further be divided on the basis of Categories and Tags, such as "Private Practitioners", "ER Units", "Cardiology", etc.
There is no limit to the number of CPTs that you can create. Each CPT will have its own Categories and Tags, as well as its own Form Builder for custom fields and other options. You can also create location-less CPTs, for entities that may not have a physical address.
For a full list of features see the Custom Post Types product page.
Installation
The first step if you haven't already, is to install the Custom Post Types extension. This can be done by following our guides on how to install an extension.
Step 1 - Settings
Once installed and activated, you can find the Custom Post Types settings at GeoDirectory > Settings > Post Types.

The Custom Post Types extension comes with sane defaults meaning the default settings will work for the majority of users, however, there are many customizations that can be done via the settings, for a full explanation of what all the settings do please see our settings overview.
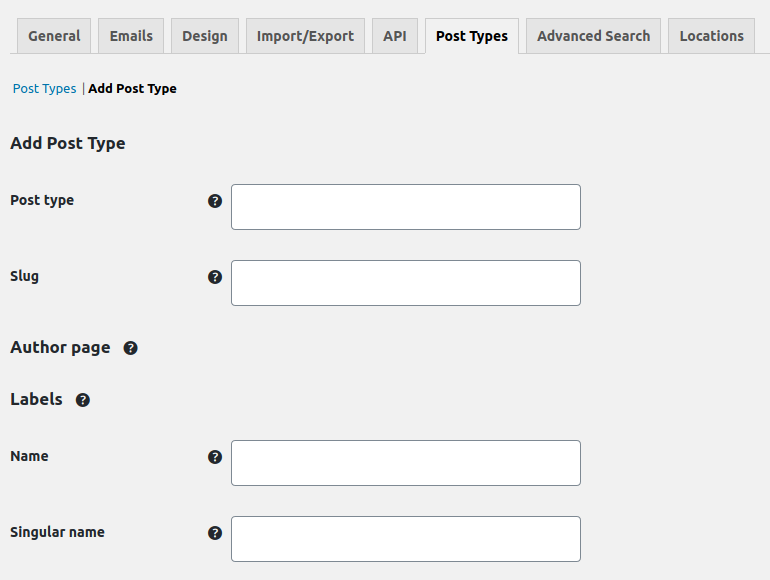
Step 2 - Adding CPTs
Creating a new CPT is possible from the settings' section. You can find details on this page -- How to Create a New Custom Post Type.
Each CPT requires a new name, and its own slug. There are several other options that you can edit for every CPT that you add.
It is also possible to link two different CPTs to each other. You will need to add both the CPTs first, and then you can link them accordingly.
Step 3 - Add Dummy Data
You can import dummy data for any CPT that you add. Refer to Add Dummy Data for more details.
When importing dummy data, make sure to uncheck "Update Page Templates" if you have made custom changes to archive items or details page templates -- otherwise, your changes will be overwritten.
Step 4 - Add CPTs to Navigation Menus
Once the CPT has been added you will want users to be able to find them and to be able to add them. Head to Appearance > Menus.
Under the GeoDirectory endpoints section you can add the main archive link and a link to the add listings page for the CPT.

Step 5 - CPT Listings Widget
The Custom Post Types extension comes with its own CPT Listings widget that can be used to list CPTs in any widget area on your website. Once you are done adding the CPT listings, you may consider adding the CPT Listings widget to your sidebar/footer or other widget areas to help users easily access the CPT listings.
The widget has the option to exclude certain CPTs, or show/hide specific options. You can find details about its usage on the GD CPT Listings widget page.