Events Tickets Marketplace Released
Easily Sell Events Tickets from your Website
Today we released the highly anticipated Events Tickets Marketplace plugin for GeoDirectory.
This plugin can be used to sell Events Tickets on your website in multiple ways.
For example, you can sell tickets for one specific event on a website that you can build with no-code using WordPress and GeoDirectory.
If you organize events for a living, you can sell tickets for all your events from your business website, and stop paying commissions to Eventbrite or TicketMaster.
You can also allow other users to submit events into your Directory of Events (Free or Paid) and let them sell tickets for their own events, while you can collect a commission of their sales and create your own Eventbrite or TicketMaster.
Let me quickly show you how to start selling tickets online.
How to sell Events Tickets on a WordPress Website independently
I’m assuming you already have a WordPress website installed on your server and you want to start selling tickets for your events.
This is how you do it.
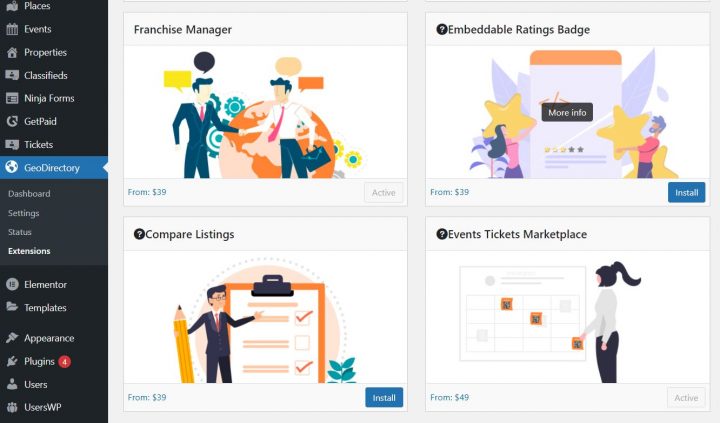
Other than the new Events Tickets Marketplace plugin, You will need the following plugins (which will auto install):
- GeoDirectory (Free)
- Events Calendar for GeoDirectory (Free)
- GetPaid (Free)
- GetPaid Item Inventory (Free)
- GetPaid Wallet (Free)
You have installed all the plugins.
Let’s configure GeoDirectory
Run the setup Wizard for GeoDirectory.
Create a Google Maps API key and set the city that will host your Event as the Default City.
If you don’t want to deal with Google Maps API Key, you may use OpenStreetMap, which doesn’t require an API key.
Finally, create at least 1 Event Category.
Let’s configure GetPaid
Run the setup Wizard for the GetPaid plugin and select how you want to get paid.
PayPal and other common payment gateways are pre-installed, if instead, you want to take advantage of Stripe, you will need the free Stripe Payments plugin for GetPaid too.
Connect your Stripe account, set the country and the currency of your GetPaid Store.
Last Go to Tickets > Settings
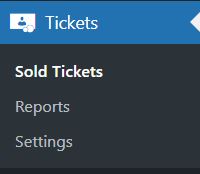
and set the commission to 0 (unless you need to pay yourself a commission).

By default, the commission is set to 10%.
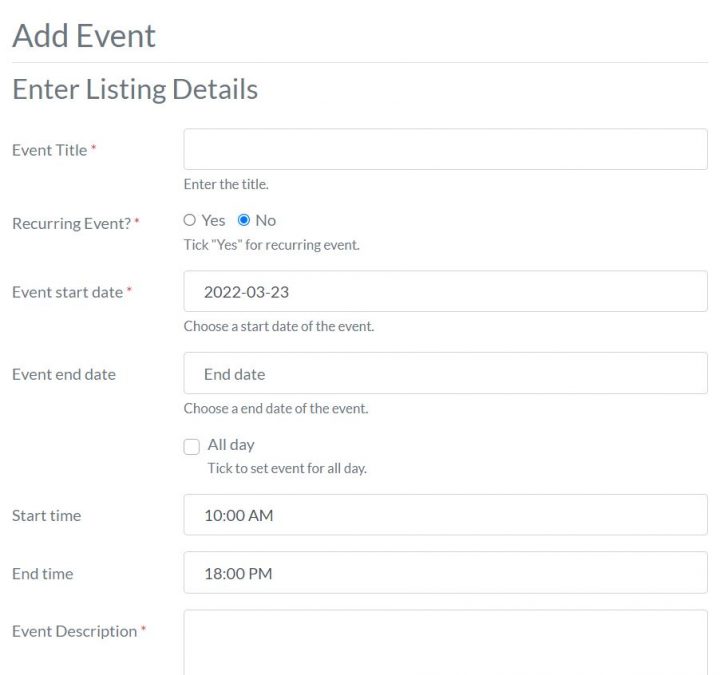
Now you can start creating your event. 1st make sure the default Events custom fields allow you to show all information that you need to display.
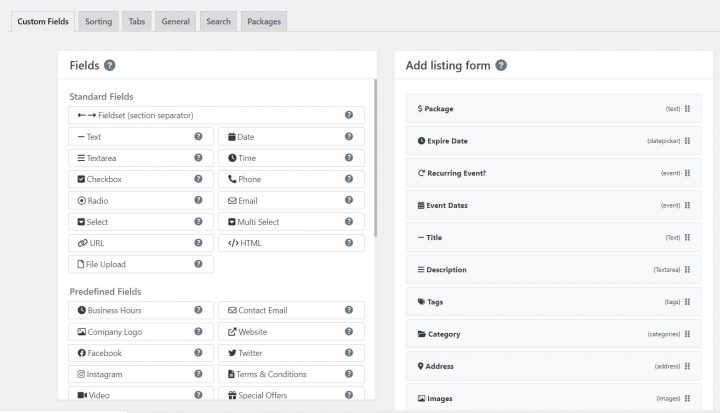
Proceed to add your event and publish it.
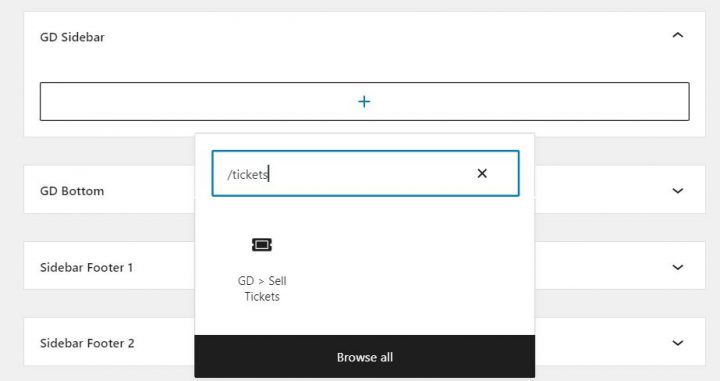
After you publish your event, we need to add the ticket management block/widget to your Event details page on the front end. In this case, we need to go to Appearance > Widgets and we will add the block GD > Sell Tickets to the top of the GD Sidebar.
The result will look like this:

Now click the Sell Tickets button and create your tickets. You can create an unlimited number of ticket types and set both the price and quantity available for each of them.
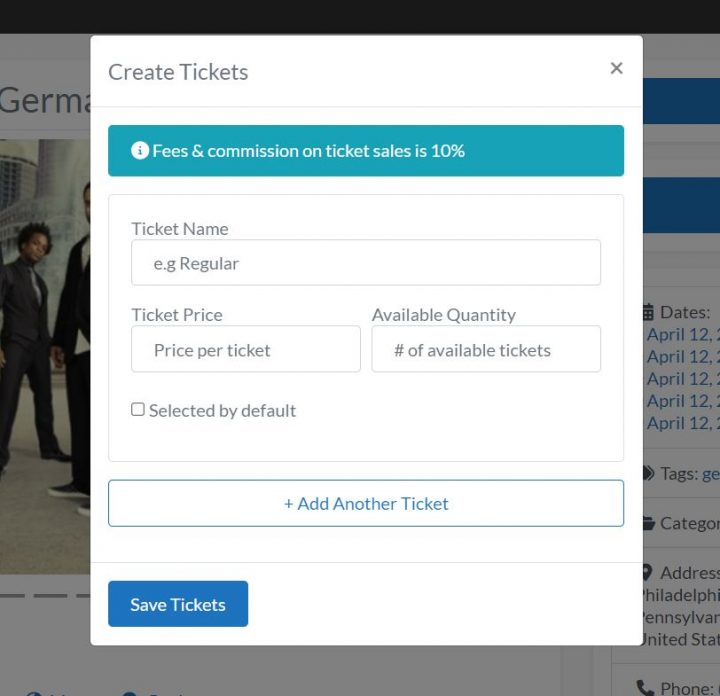
Example:
- Kids: $10 / 50 seat avail
- Adults: $20 / 100 seat avail
- Seniors: $15 /50 seat avail
You are now ready to sell tickets online, if you visit the front end detail page of your Event, you will see that the sell ticket button is no longer there and you have 2 other buttons instead:
- Buy Tickets (this button is visible to anyone)
- Ticket Management (this button is only visible to the Event Owner)
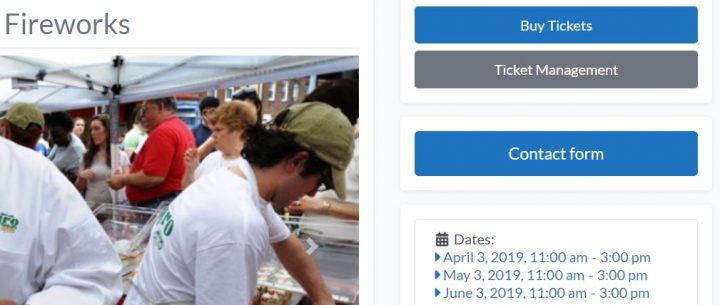
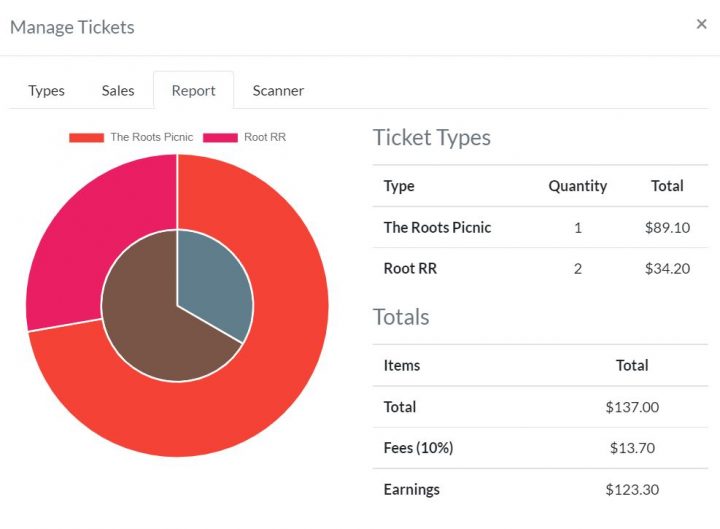
The ticket management button, which is only visible to the event owner, opens a popup with options to create new tickets, a list of tickets sold, ticket sale insights, and the ticket scanner to validate its QR code.
If instead, you click the Buy Tickets button, which is visible to anyone, the checkout form will pop up with the option to select the date (for recurring events), the ticket type, and the quantity.
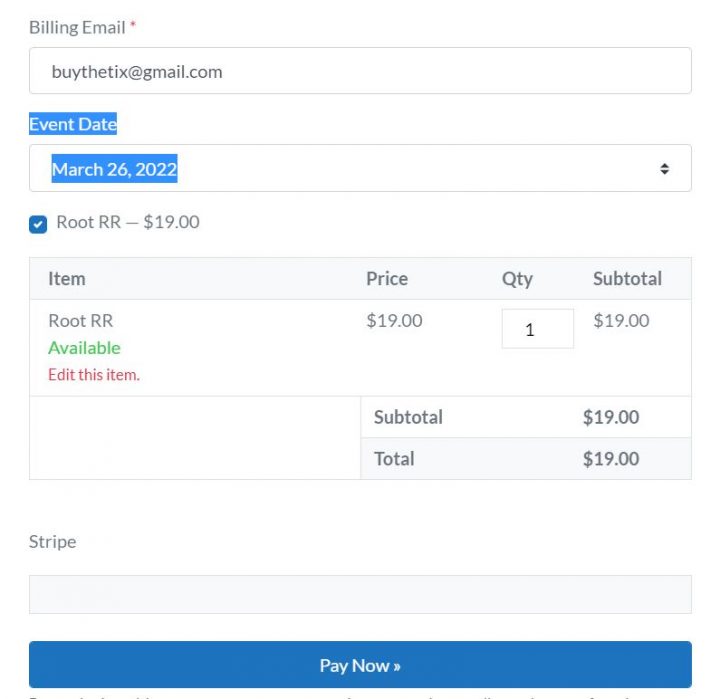
At this point, the total amount is calculated and the buyer needs to pay with his credit card.
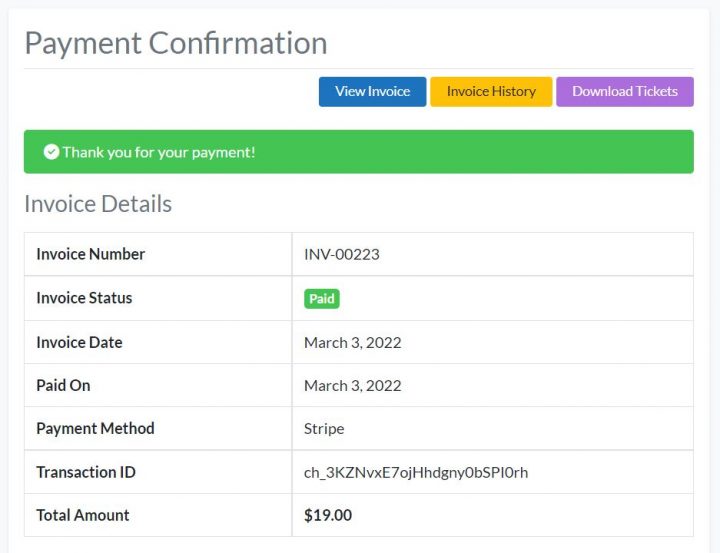
After the transaction is completed, the buyer will be able to download the tickets and show them at the event on their mobile device or with a hard-printed copy.
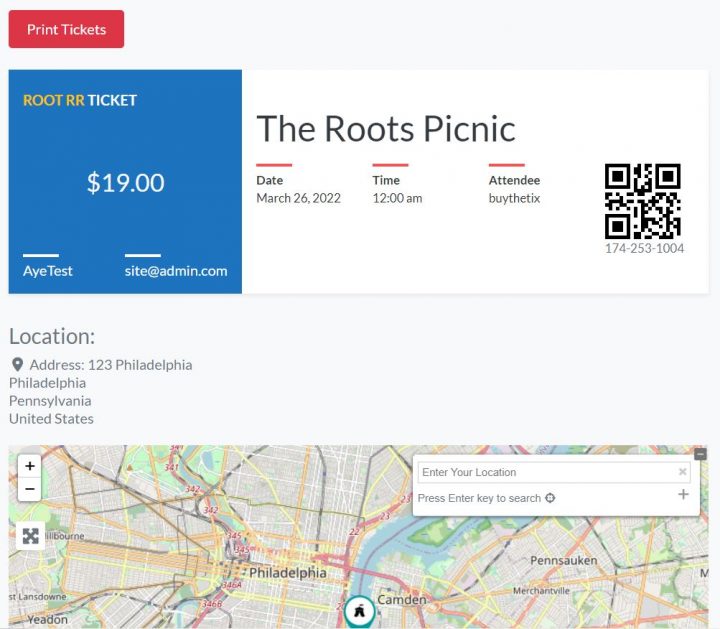
As previously mentioned, the tickets come with a unique QR Code that can be scanned to see if the ticket is valid or not.

Of course, you can redeem the tickets so you’ll know which one has been used and which are still valid.
Landing page for Events
What if I don’t want to use the GeoDirectory Event detail page template to promote my event and I prefer to create a Landing Page with my favorite page builder?
That’s totally possible, but you still need to create the event via GeoDirectory first.
Let’s say you want to use an Event Landing page from the Elementor PRO Library.
This one for example.

After you created your event via GeoDirectory and created the ticket, all you need to do is to replace the Register Now buttons with the GD > Sell Ticket widget. The only difference with what we did earlier, you’ll need to add the ID of the ticket to sell.
You’ll have to modify the style of the widget to match the original look of the button.
By using the GD > Sell Tickets widget, it will ensure that when the event is started, the button will become inactive and it will no longer be possible to buy tickets.
If that’s not a viable option and you want to use the original Register Now buttons, you can edit them via Elementor and make their links point to:
yoursite.com/#getpaid-item-XYZ|0
Where XYZ is the ticket ID. You can verify the ID of your ticket on the Items list of GetPaid.
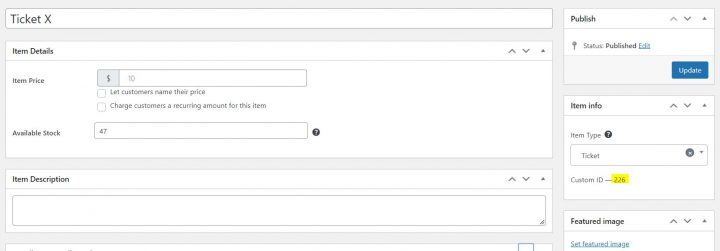
Clicking the button with that link will open the ticket check-out form.
This second method will not stop selling the tickets after the event has started though.
Directory of Events with Tickets Marketplace
Because GeoDirectory allows users to submit their own events (if you wish), your events owners will also be able to create tickets for their own events.
As previously mentioned, you can charge a commission for each sale, which means that you now have an extra tool to monetize your directory.
Soon we will create a tutorial to show you how easy it is to create a Tickets Marketplace from start to finish.
Events Tickets Marketplace: Included in all memberships
We hope you enjoyed this tutorial.
If you are a GeoDirectory active member, you will find the plugin in your account area.
We are curious to hear your feedback and we are eager to improve this plugin indefinitely, so don’t hesitate to share your ideas in the comments down below!
Newsletter - Stay Updated!
Get the latest news, tips, and exclusive content directly in your inbox.