Ninja Forms
Introduction
Preparation
Contact Form
Claim
FAQ
Introduction
This doc covers two (2) Ninja Forms integrations. The first is to provide your visitors with a “Send Enquiry” type button to fill out a form to contact the listing owner by email using the ’email’ field. The second is using a Ninja Form to allow users to ‘Claim’ a listing.
Preparation
For the guide you have completed the following:
- Setup Geodirectory (Beta Version 2.0.0.5-beta or higher)
- Install and Activate Ninja Forms
- Optional – For Claim form – Setup claim Listings Addon
Contact Form Setup
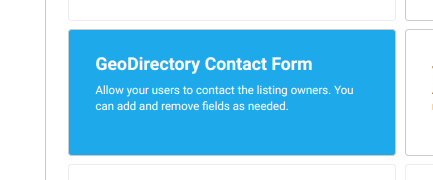
Open the Ninja Forms menu in WordPress to “Add New” to see the list of Forms that come with Ninja Forms. In the list you will see the “GeoDirectory Contact Form”.
Only the “GeoDirectory Contact Form” form template comes prepared with the hidden field necessary to make this integration work. The form you create must use this template, as shown here:
- Visit the Custom Fields ssettings and add the “Email” field to your post type. Make the sure field uses the key ’email’.
- Navigate to Ninja Forms – Add new form
- Select the “GeoDirectory Contact form”
- Edit and save the form.
- Visit WP – Appearance – Widgets
- Add GD > Ninja Forms Widget to Sidebar, and set for Display on Detail Page
Form Display Options
You have several options for how you can display the option to use a form.
Lightbox Button
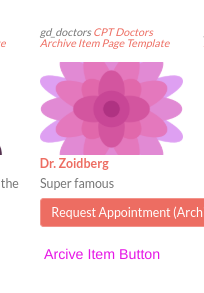
Once a form integration is setup, you can also use the following shortcode to display a button to launch your form in a lightbox popup. This button can easily be added to the Detail or Archive Item templates, or a tab.
Adjust the form_id to that of your GeoDirectory Contact Form.
Adjust the text param to change the text on the button.
[gd_ninja_forms form_id="3" text="Contact form" post_contact="1" output="button"]Widget Sidebar Lightbox Button
- Visit WP – Appearance – Widgets
- Select the GD > Ninja Forms widget
- Set the widget to display in the Sidebar that is visible on Detail Page
- Configure the widget for the correct Ninja Form form_id
- Check the option “GD Contact Form” to only display the widget if the listing email is populated.
- Save settings
- Visit the Detail page to confirm display of the form.
Add Lightbox Button to Detail Page Template
Do you want to place the button somewhere specific on the Detail page, within the content area, instead of in the sidebar?
To do that, you will edit the Detail page template.
- Navigate to your site’s Detai page template
- Edit the template (page)
- Add your Lighbox Button shortcode to the template
Add Lightbox Button to Archive Item Page template
Do you want to place the button somewhere specific in the Archive Item display, so the button shows up for each listing on the Listing page?
To do that, you will edit the Archive Item page template.
- Navigate to your site’s Archive Item page template
- Edit the template (page)
- Add your Lighbox Button shortcode to the template
Claim Form
You should complete all the steps outlined in the Claim Listing addon setup before setting up your Ninja Form for Claim Listings.
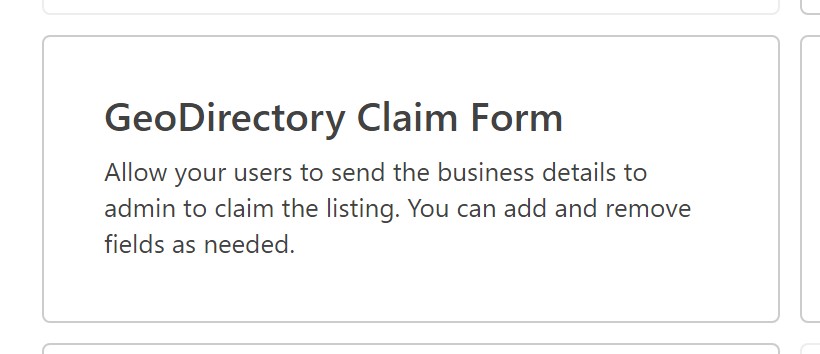
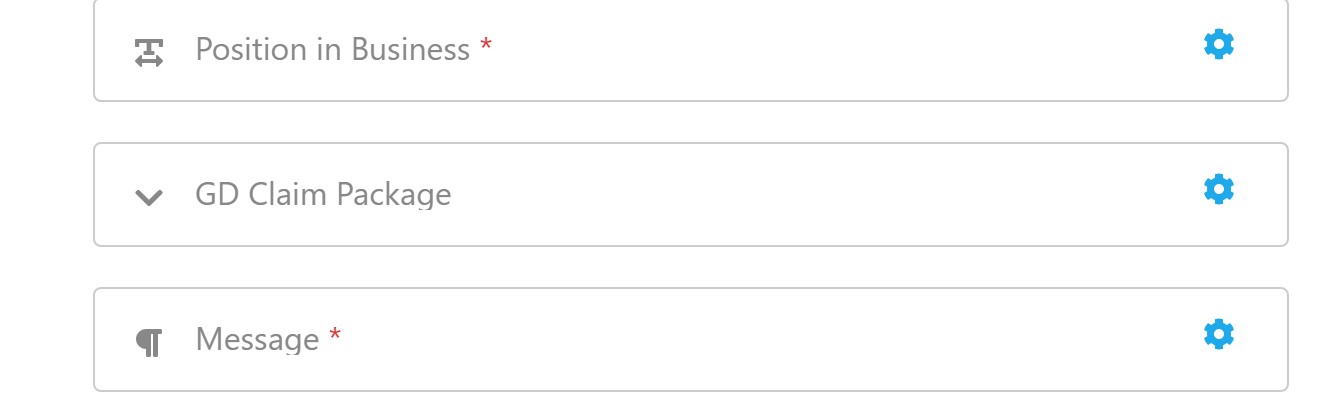
Open the Ninja Forms menu in WordPress to “Add New” to see the list of Forms that come with Ninja Forms. In the list you will see the “GeoDirectory Claim Form”.
Only the “GeoDirectory Claim Form” form template comes prepared with the hidden field necessary to make this integration work. The form you create must use this template, as shown here:
Pricing Manager Integration
If you are also using the Pricing Manager addon, you can add an additional field to allow the user to select the desired price package and proceed to checkout. Be sure to have set the Price Packages for all listings.
Select the field by clicking the “+” to add a new field. Then drag the field on to your form.
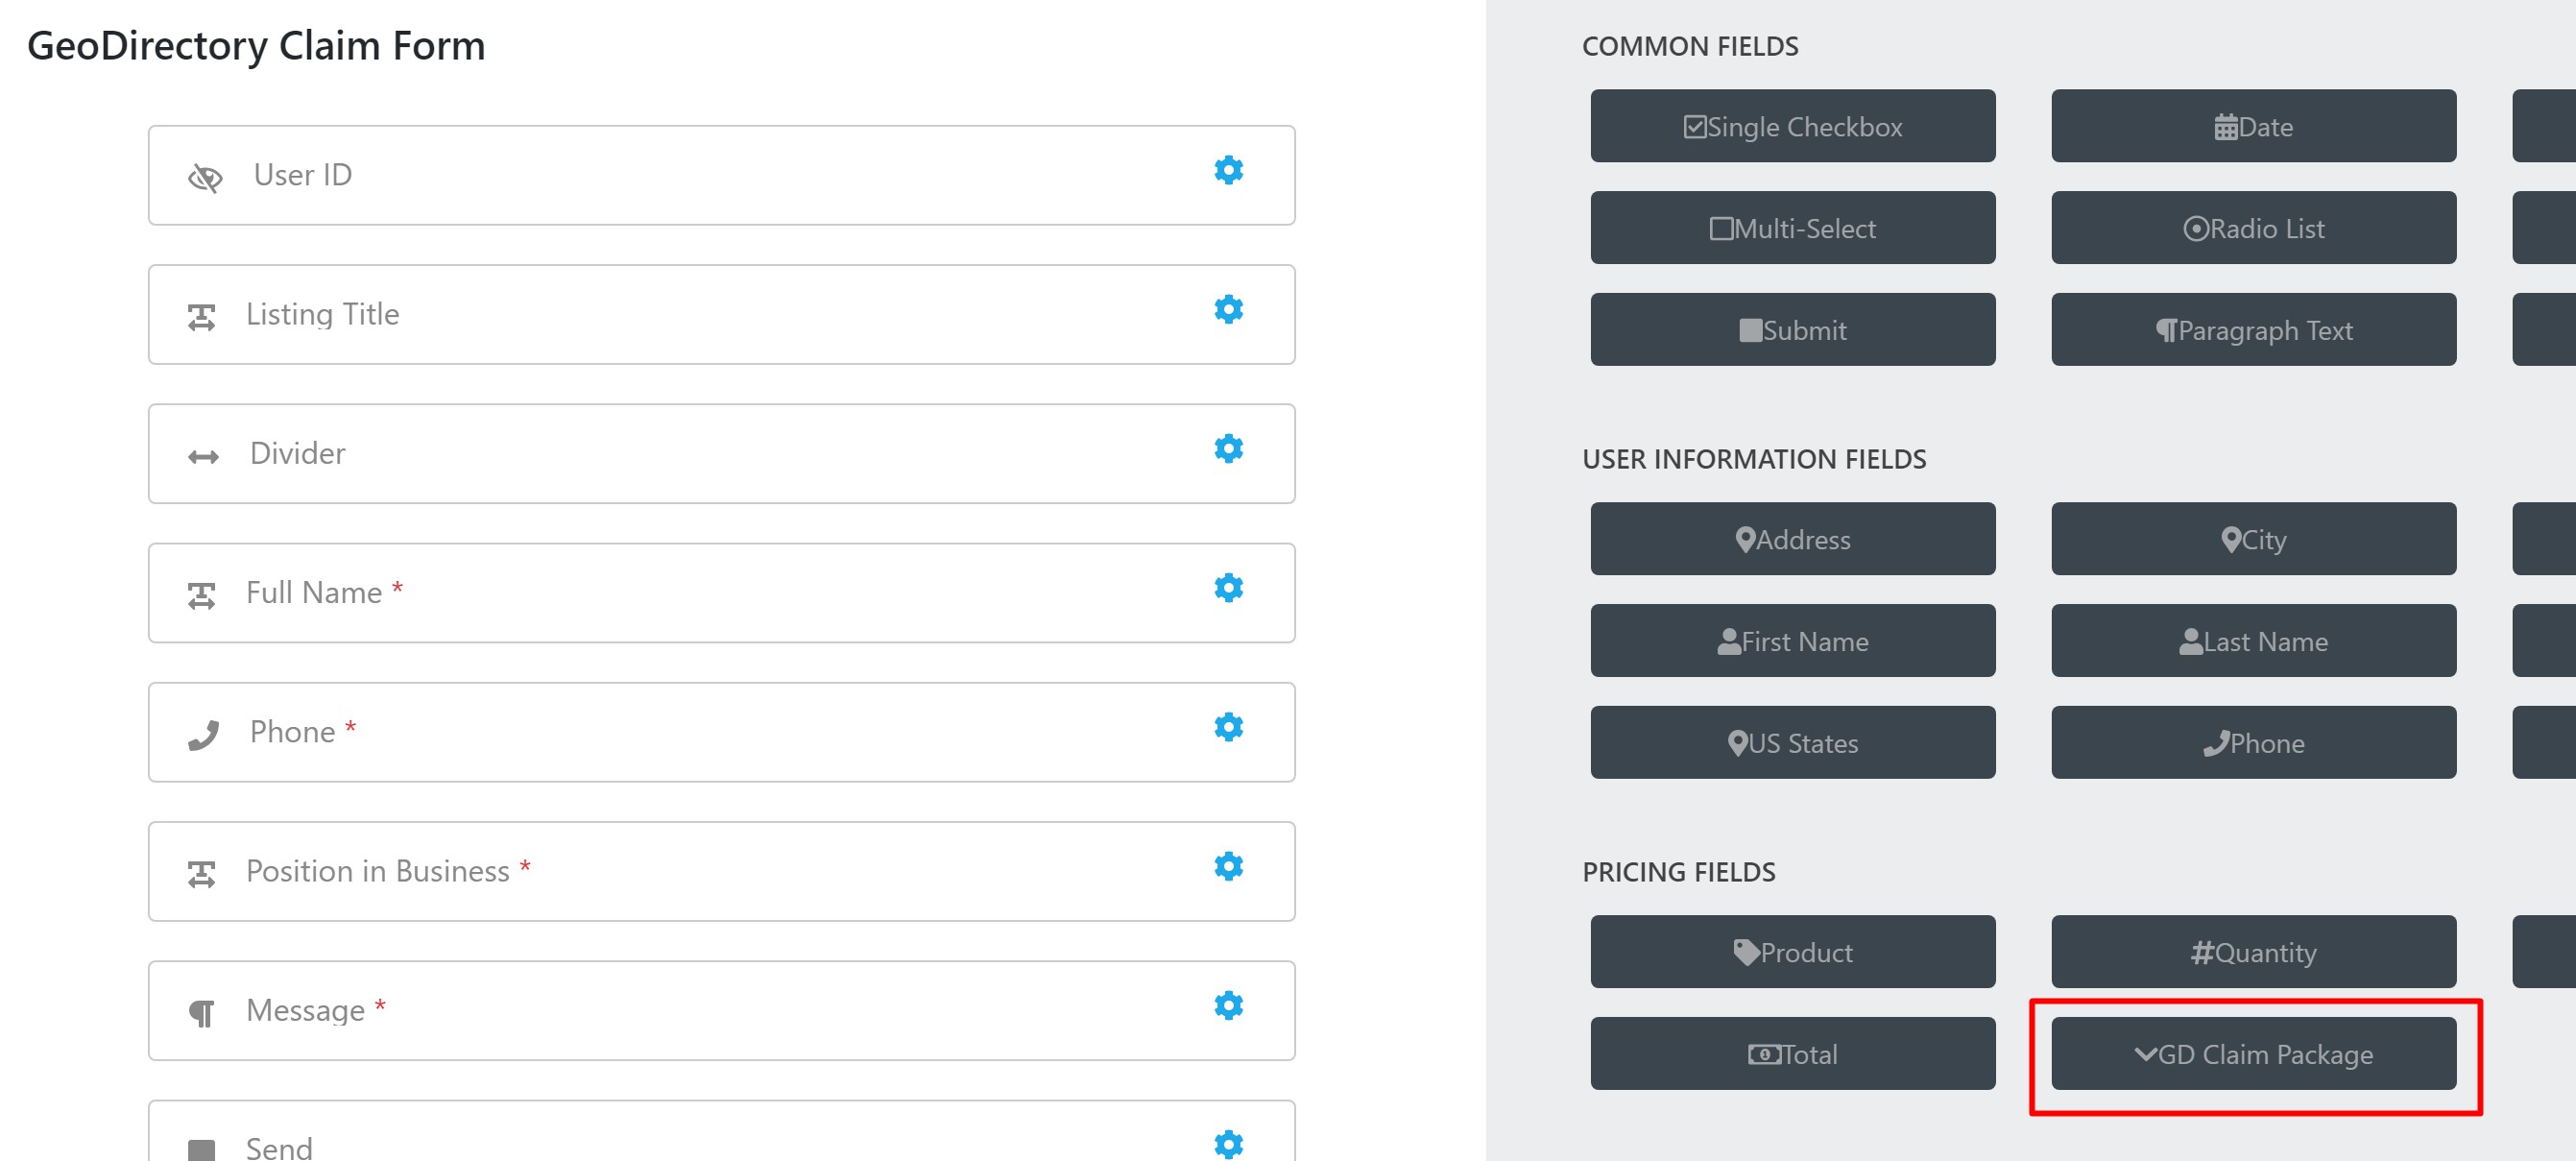
Drag the field to re-order it and place it where you want.
Claim Form Design Options
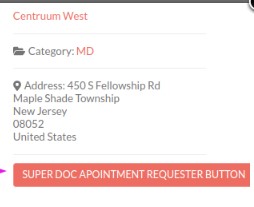
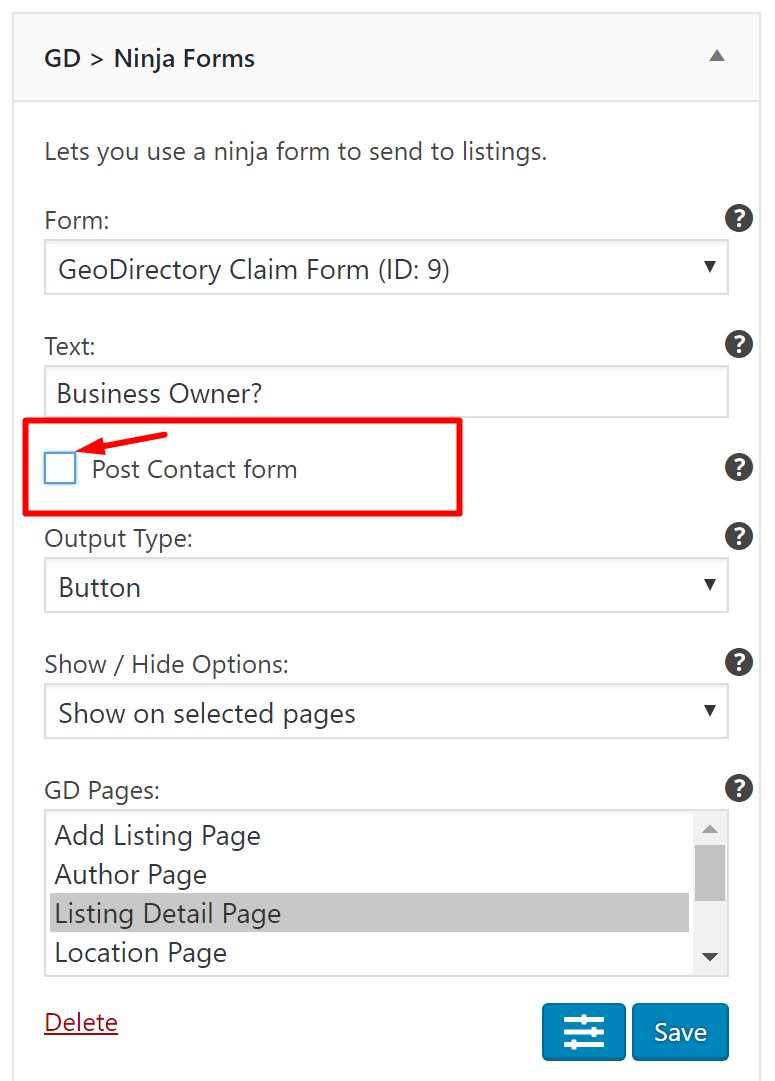
The Ninja Forms integration for the claim form can only be used as a popup with the GD > Ninja Form widget as shown below.
Be sure to disable the “Is Contact Form” from the advanced options.
FAQ – Frequently Asked Questions
My form is setup, but the email is not sent to the listing email. What do I do?
Here are some items you can check:
- Does the form use the GeoDirectory Contact Form template?
- Does the CPT with your test listing use the pre-defined Email field?
- Does your test listing have an email value filled in the Email field?
- Is the email being created? (Diagnose with Email Log)
- Still no joy? Get support.
I want to make a form from scratch, what do I do?
If you are feeling adventurous and want to setup a form from scratch to integrate with GD Listings, then these two settings are required.
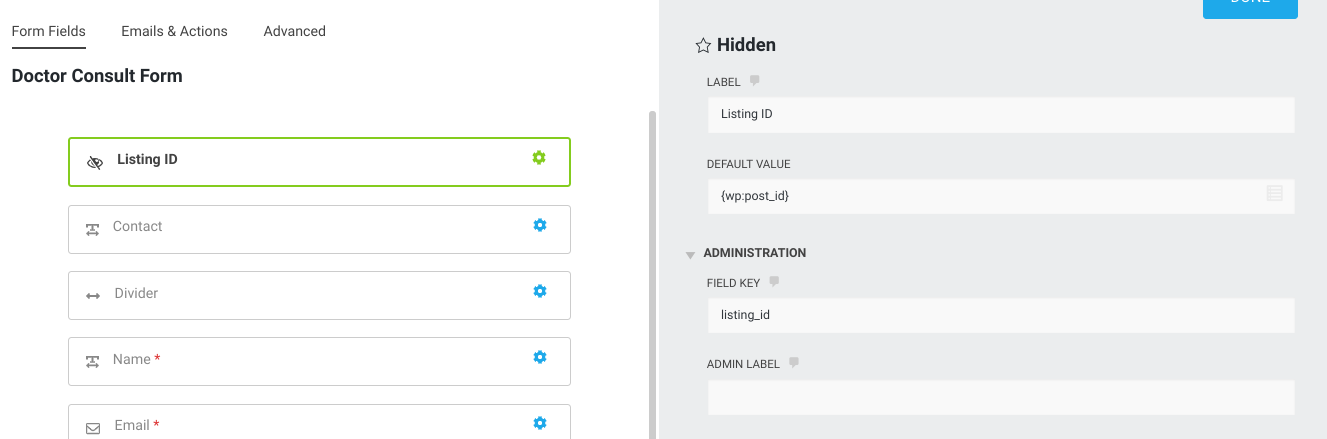
1. If your form will be displayed anywhere besides the detail page, then there must be a hidden field with the following settings:
2. Then, the Email Notification, in order to be sent to the email field of the listing, needs to be setup like this, to send the email to {GD:listing_email} instead of the default {system:admin_email}.

FAQ
Maintenance Mode
Error: “This form is currently undergoing maintenance. Please try again later. ”
Check the form settings and CHECK: Remove Maintenance Mode
Set Reply-To Email Value
When a GD contact form is submitted, the default setup fo the form is to set the value of the “Email” field of the form (the user submitted email value) as the reply-to email.
Unfortunately this is not supported by all email sending systems.
To troubleshoot it you can install the email log plugin to see if the email values are being set correctly before they are sent by the server.
Ultimately even Ninja Forms may not be able to force the ‘reply to’ email value. This ultimately depends on how the mail is sent from the server and whether the reply-to email address can be set as different from the ‘from’ address. If you see a difference between the log and the email you receive then you can look to your host or email service for more information.
This isn’t a GD function and isn’t something we support, but with these pointers you can diagnose the issue and take it further up the chain to your host or email partner.
Form Styles
I want to change the style of the form
The GD > Ninja Forms widget loads the form in an iFrame for technical reasons (listed below).
To change the style of the form, you can set the forms to use the Ninja Forms default styles.
Visit
WP Backend -> Ninja Forms -> Settings -> Styles -> Light or Dark
It is not possible to load additional styles beyond those settings to the GD > Ninja Forms forms without a customization.