Claim Listings
Introduction
Installation
Settings
Setup
Design
Support
FAQ – Frequently Asked Questions
Introduction
Use the Claim Listings addon to allow site visitors to claim listings. Once a claim is made, use the addon settings to review the claim and approve, reject or delete the claim. Use the GD Claim design element to provide visitors with a button they can pess to file their claim on the listing.
See more here: https://wpgeodirectory.com/downloads/claim-listings/
Installation
Preparation
Check to be sure you have the following plugins installed before you get started.
Installation
Settings
Find the Claim Listings tab in the GeoDirectory Settings
GeoDirectory – Settings – Claim Listings

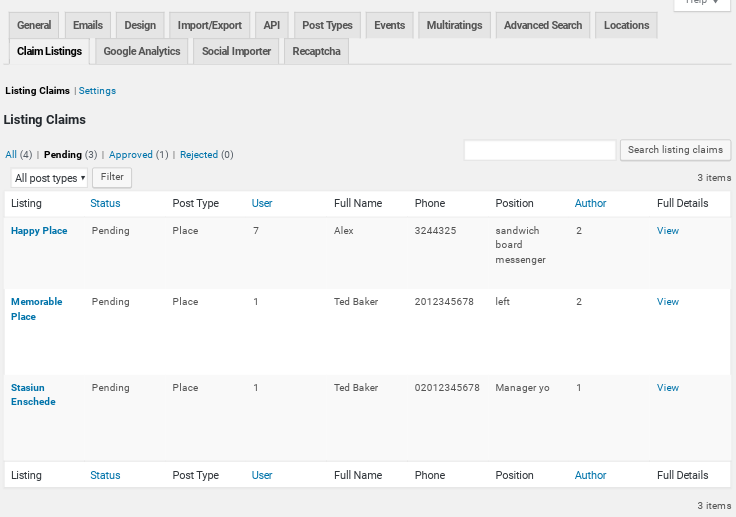
GeoDirectory – Settings – Claim Listings – Listing Claims
GeoDirectory – Settings – Claim Listings – Settings
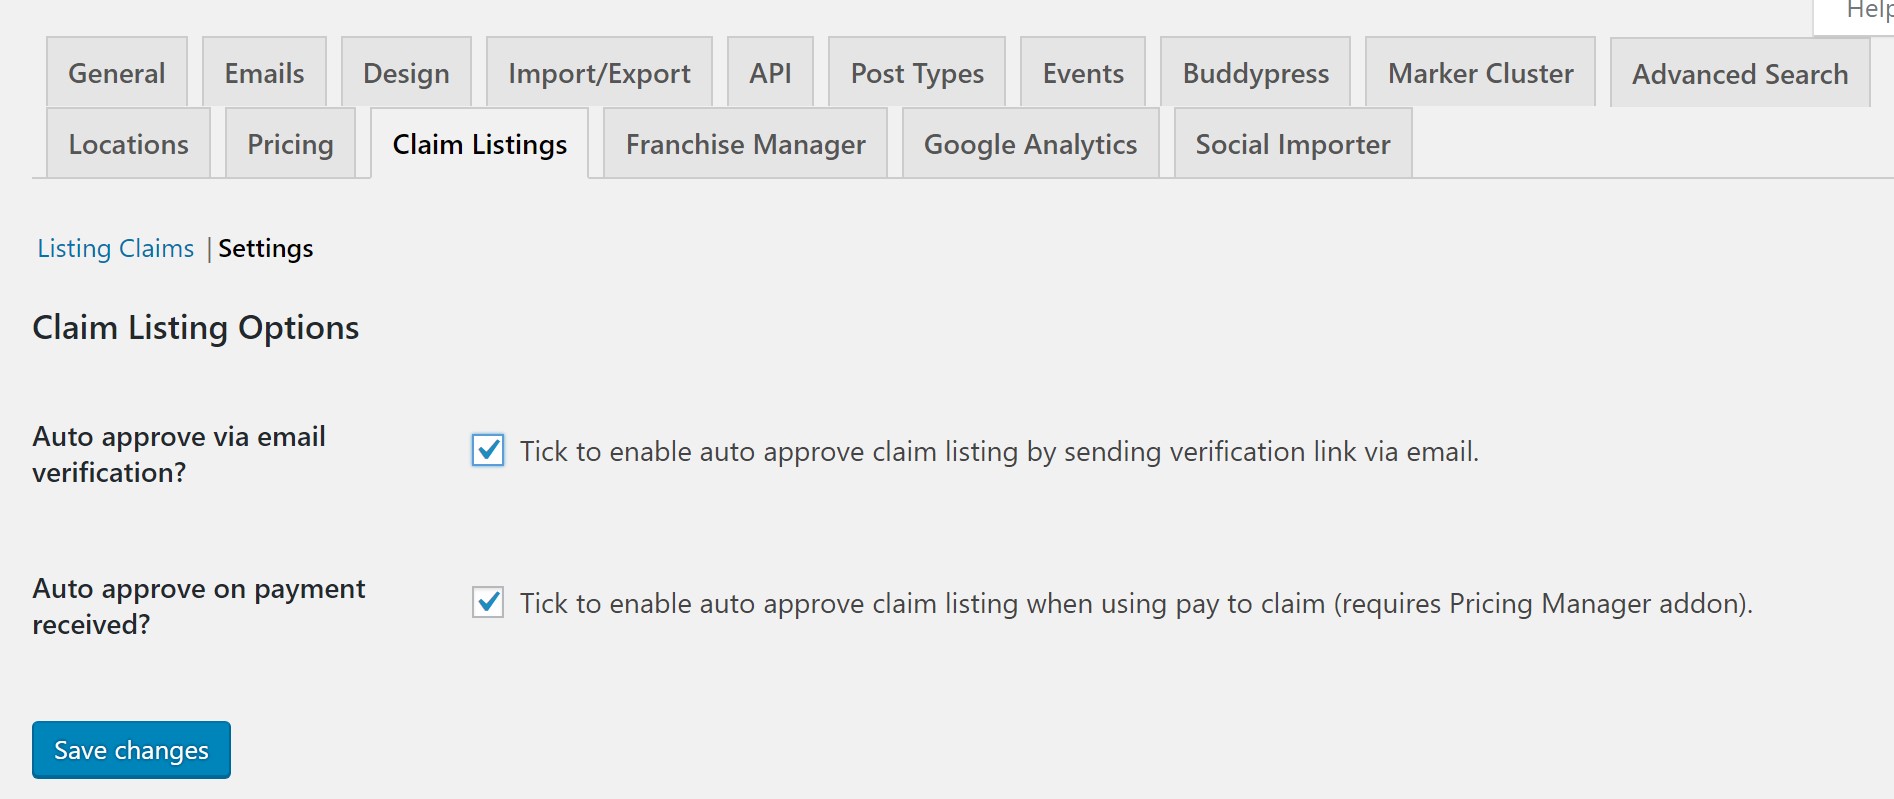
Claim Listing Options
Auto approve via email verification?
- Tick to enable auto approve claim listing by sending verification link via email.
Auto approve on payment received?
- Tick to enable auto approve claim listing when using pay to claim (requires Pricing Manager addon).
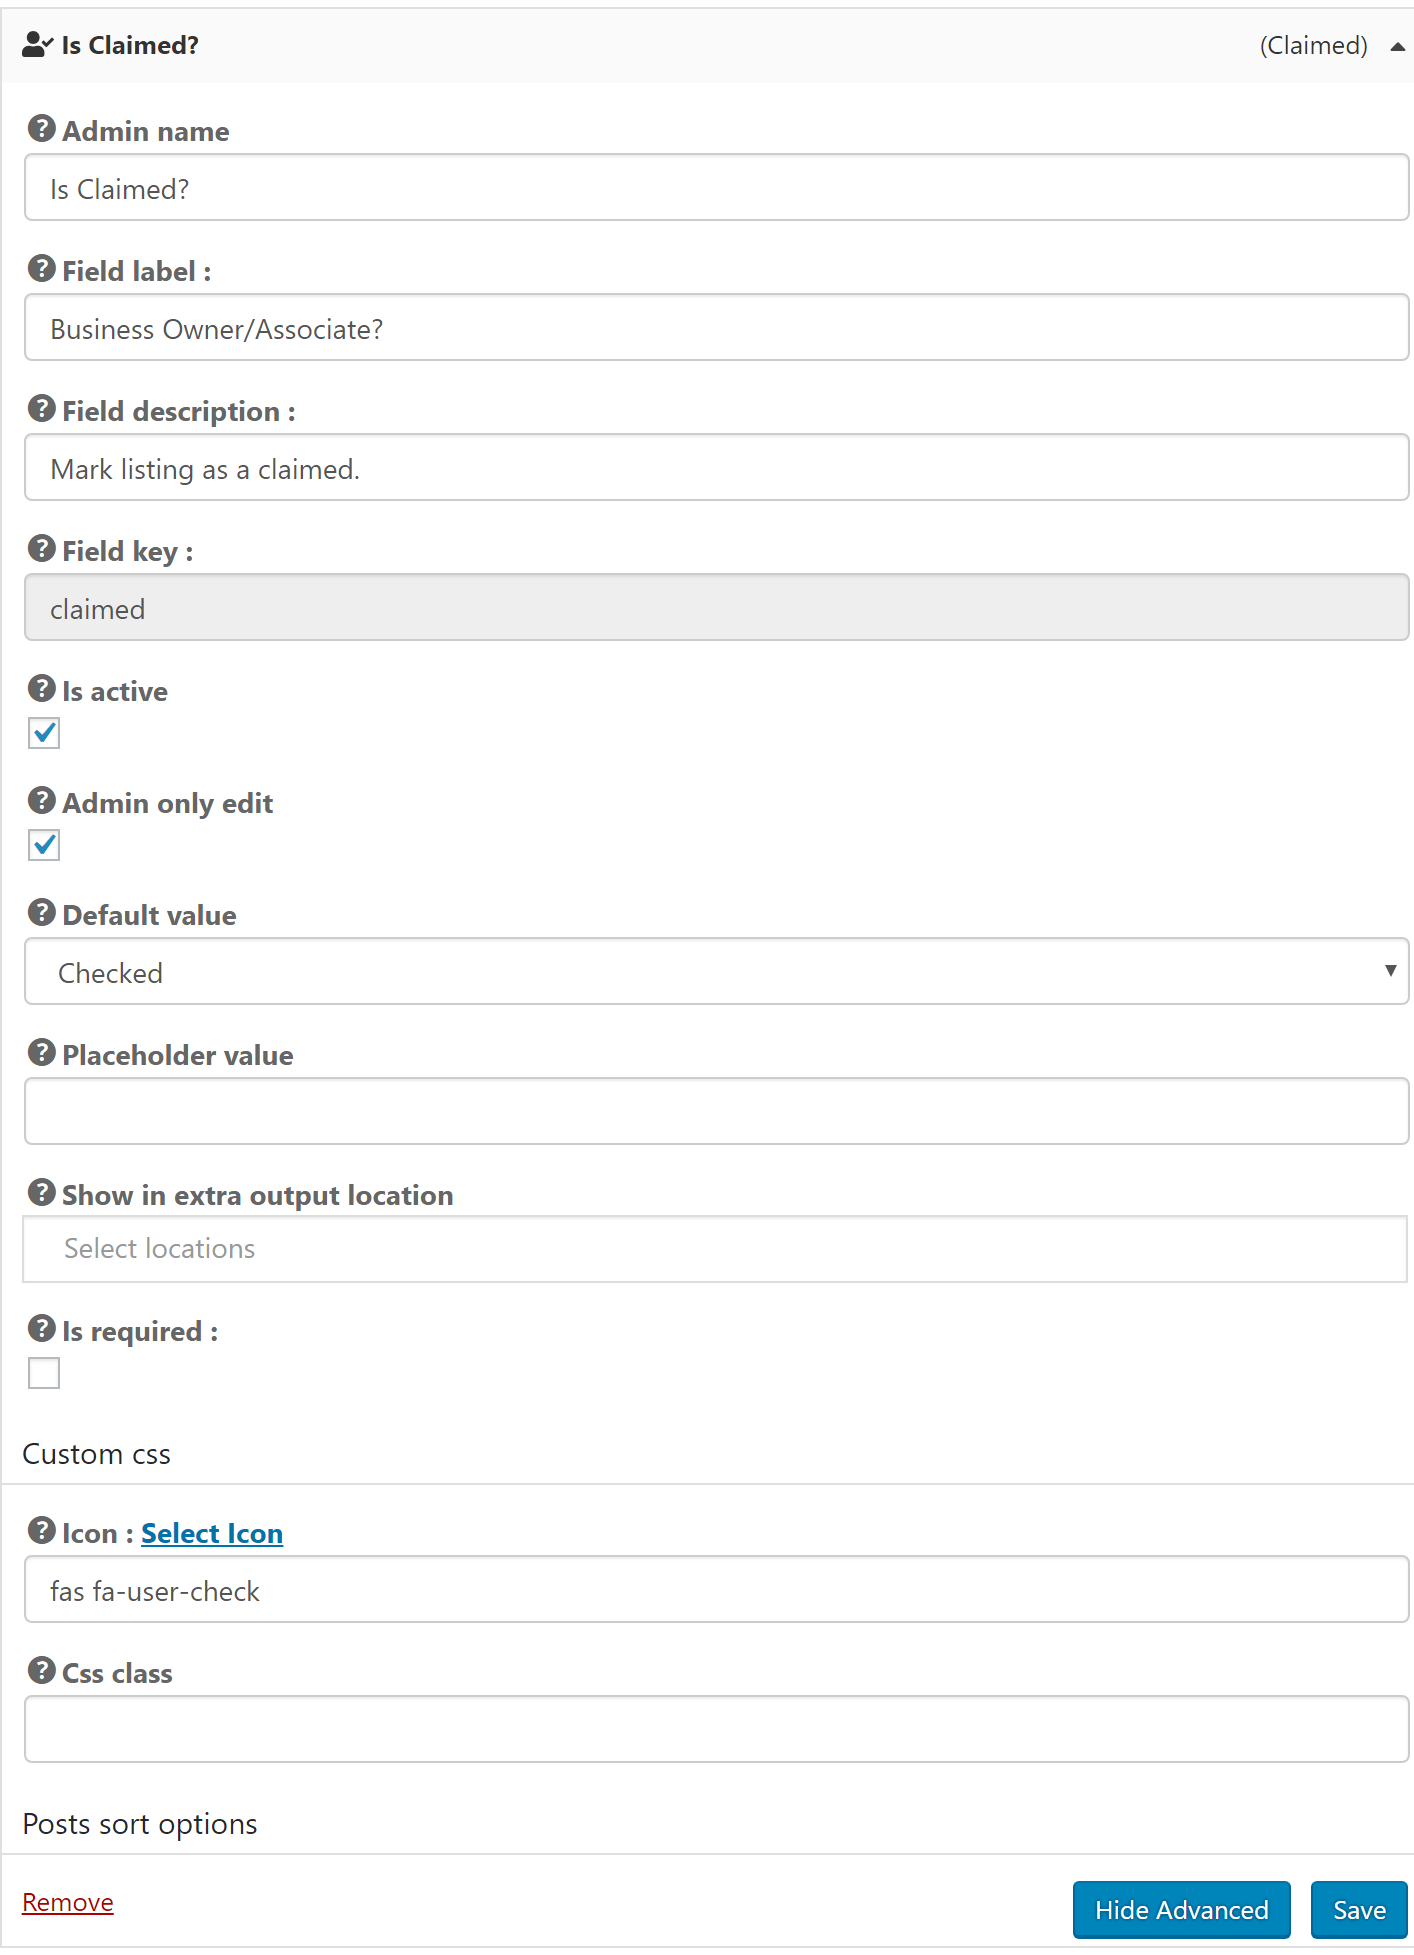
GeoDirectory – CPT (Places) Settings – Custom Fields – Is Claimed
Once the Claim Listings addon is enabled you can add the “Is Claimed” field to each Custom Post Type that your site visitors can claim. This field must be added to the CPT before the “GD > Post Claim” element will display.
![]()
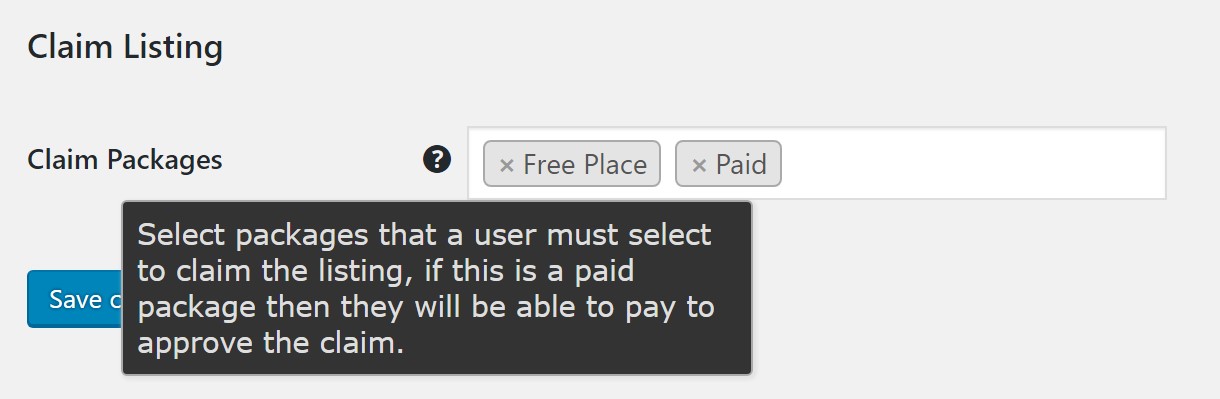
GeoDirectory – CPT (Places) Settings – Packages – Advanced
![]()
Setup
Preparation
- Setup Pricing Packages before Setup of Claim Listings
Setup Claim Listings – Step by Step
- Visit CPT (Places) Settings – Custom Fields – Predefined Fields – Is Claimed
- Click once on the field to add the Predefined Field “Is Claimed” to the CPT.
- Set “Is Claimed” to Active: “Is Active: Yes”
- Optional – Set “Is Claimed” to Admin Only to hide the field from non-Admin users: “Admin only edit: Yes”
- Optional – Set “Is Claimed” Default Value to Unchecked: users will check the field to claim the listing”
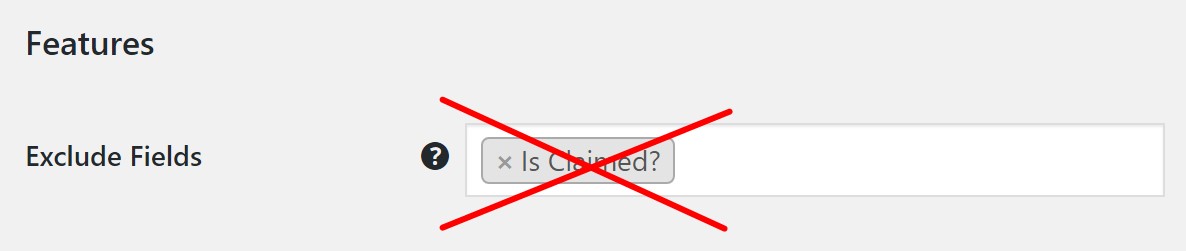
- Visit CPT (Places) Settings – Packages (Pricing Manager Addon required) – Advanced – Features – Exclude Fields from Display”
- Remove “Is Claimed” from Excluded fields to display the GD > Post Claim element
- Visit CPT (Places) Settings – Packages (Pricing Manager Addon required) – Advanced – Claim Listing – Claim Packages”
- Choose any packages that the visitor may select when they are claiming this listing. Be sure to enable the current package, too, if you want visitors to be able to claim that package.
- If you are using Pricing Manager, be sure to assign a package to all your listings. If necessary, assign packages to several, then export, edit the listings, and import to perform a bulk update.
Import – Export
You can change claimed status for many listings at one time by using GeoDirectory’s import & export features.
When you export a CSV of listings the column is called
claimed- 0 = not claimed
- 1 = claimed
The GD Post Claim button will only show if the value is 0.
Design
Elements
gd_post_claim – GD > Post Claim
After you add the “Is Claimed” field to your CPT, you can then add the GD > Post Claim design element to display on the Detail page. This displays the button that visitors click when they claim a listing. You can use the built in form, or a Ninja Form using the GD > Ninja Form element.This can be added as a widget or a shortcode.
Get Support
Get support on our forum, fnd out more here: https://wpgeodirectory.com/docs-v2/geodirectory/support/
FAQ – Frequently Asked Questions
Display the GD Post Claim element on the detail page
Check your configuration and make sure that:
1. GD > Post Claim element is set to display on the Detail page.
2. The “Is Claimed” field has been added to the CPT.
3. The “Is Claimed” field is set to active – “Is Active: Yes”
4. The “Is Claimed field is not excluded from the CPT Package assigned to the listing.
5. The Package has additional packages that are listed under “Claim Packages”


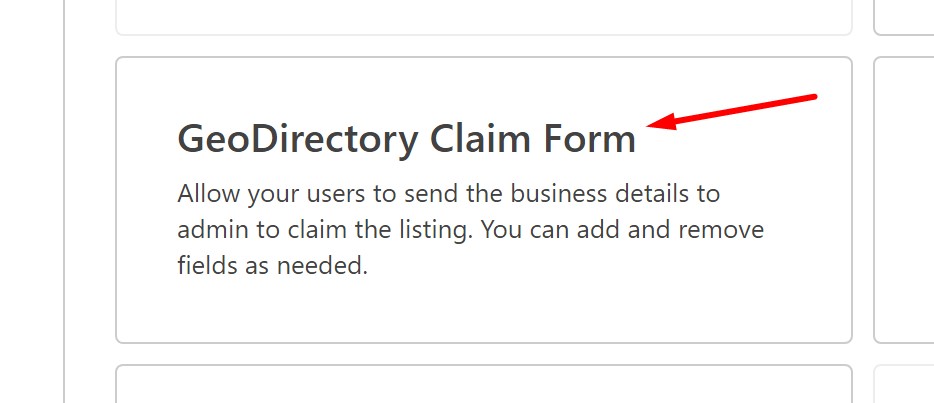
Personalize the Claim form with Ninja Forms
Yes, setup is covered on the Ninja Forms Integration doc here.
Error Message: Could not save claim data
If you encounter this error, try running the GD tool here: https://wpgeodirectory.com/docs-v2/geodirectory/status/#clear-version
Why isn’t the author displaying on unclaimed listings?
Once Claim Manager is activated, GD Post Meta for author will only show the author name if the listing is claimed.