Maximize Your Online Directory’s Potential with the ‘Claim Listing’ Functionality: A Simple Guide to Implementation

A business owner is casually strolling through the internet, looking for a website that can help him promote his business.
He searched high and low, but they just couldn’t find one. Then he stumbles upon your directory!
Your directory stands out from the rest because you’ve added the GeoDirectory Claim Listing add-on. It allows business owners to claim their listings and take full control of them.
Not to mention, when combined with the GeoDirectory Price Manager add-on, you can now monetize your directory by requiring business owners to upgrade and pay for their listing in order to claim it.
So let’s learn how to install and set up this amazing feature!
What is the claim listing feature?
Claim Listing is a feature that allows users to verify ownership of a business listing you added to your directory in advance, with a basic description and a set of pictures.
Once they’ve claimed the listing, they have full control over it and can add to or update its information.
This helps keep the directory up to date with accurate customer data.
Why adding the claim feature to your directory site is a must
Adding a claim listings feature to a business directory website is a smart move for several reasons:
- Proving it’s yours: With this feature, business owners can claim their listing and ensure all details, such as contact info, hours, and description, are up to date and accurate.
- Getting noticed: Claimed listings often get more attention and appear higher in search results, which can lead to more customers and a stronger online presence.
- Building trust: Verified and claimed listings help build trust with customers, who can be confident that the information they see is accurate and up to date.
- Analyzing the scene: Business owners can take a closer look at how customers engage with their listings and use that insight to improve their online strategy.
In short, adding a claim-listing feature is a win-win: it improves the customer experience and gives business owners valuable insights.
Step 1: Install the GeoDirectory Claim Listing Add-on
You can purchase the claim listings add-on here.
Pro tip: GeoDirectory users can save 90% by grabbing a GeoDirectory membership that includes all the add-ons to make their directory website unstoppable, instead of purchasing add-ons one by one for a higher rate.
Now, you want to install the Claim Listings extension.
There are two ways to do this: the automatic way and the manual method.
The automatic installation only works on a live website – here’s how to go about it:
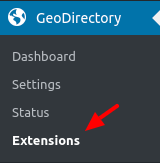
- First, head over to the WordPress backend and click on GeoDirectory > Extensions.
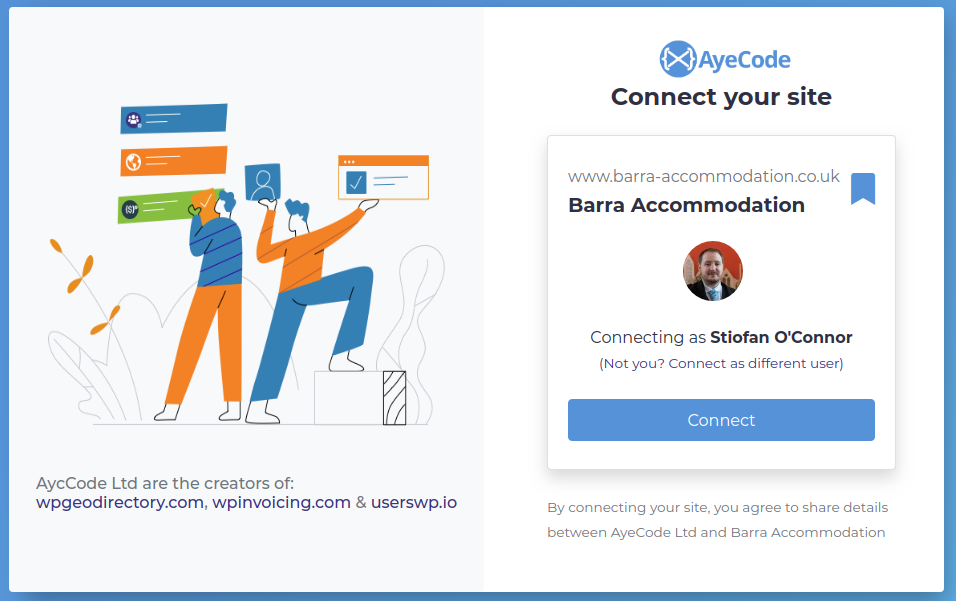
- You’ll then see a notification pop up with a big ol’ button that says “Connect Site.”

- Clicking that will take you to our parent company website, where you can log in using your login from any AyeCode product like GeoDirectory, UsersWP, or GetPaid.
- All you gotta do is click “Connect,” and voila! You’re now connected.
- You should be returned to your site at this point, from where you can install any extensions you have a valid license for with ease – including the “Claim Listing” feature.

A manual installation might be better for those with a local hosting environment. To do this, you’ll want to go this route:
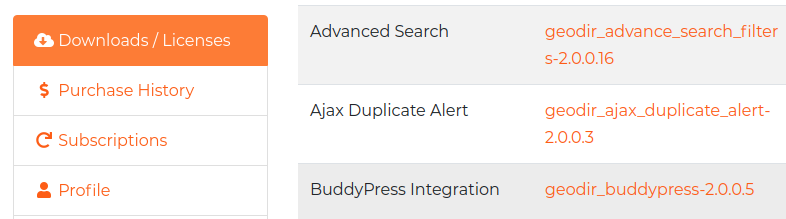
- Download the extension zip file from your account area.
- Head to the WordPress backend and click on Plugins > Add New.
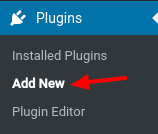
- Up at the top of the screen, hit the Upload Plugin button.
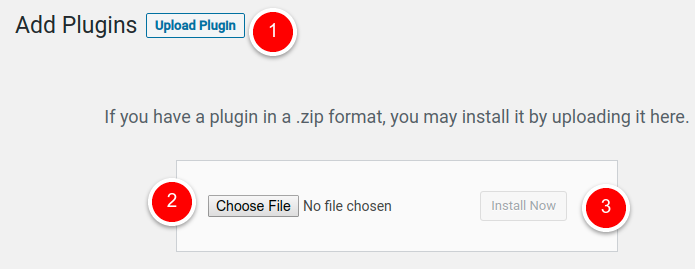
- Select the zip file you just downloaded and click “Install Now.”
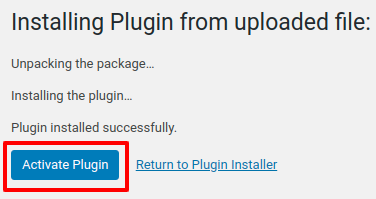
- And that’s it! Just hit the Activate Plugin button, and you’re good to go.
Step 2: Setting up your add-on
Once the add-on is active, head to your GeoDirectory > Settings page and scroll down to the Claim Listings section to configure important settings.
How will users claim listings? And how will you approve them?
These are the two main ways to manage claim listings:
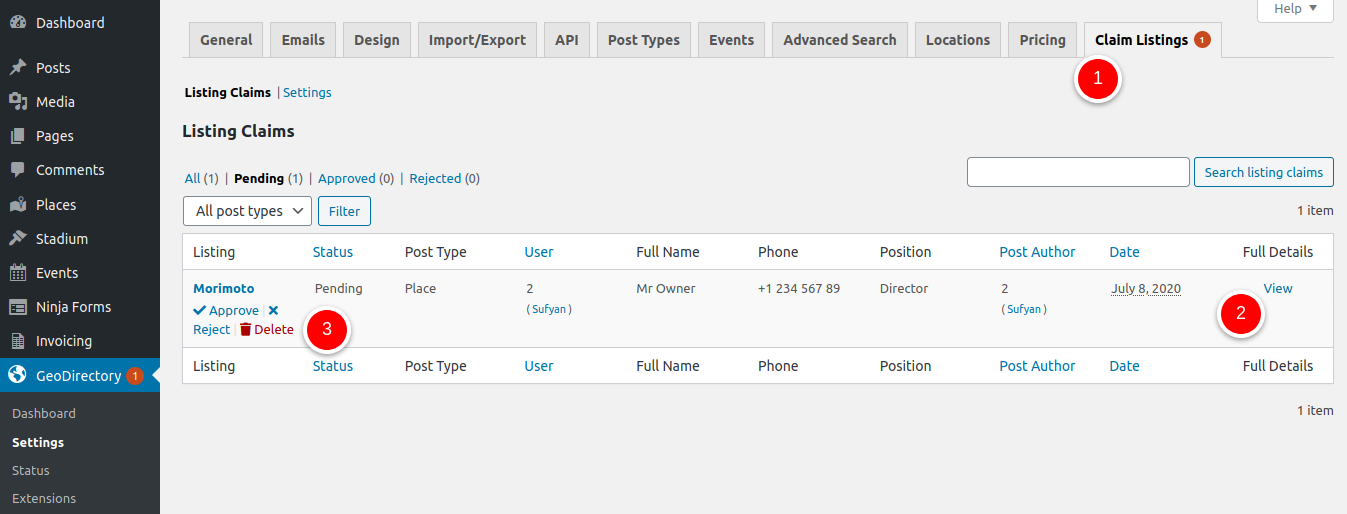
- Manual approval: This requires you (the admin) to manually approve each listing before it is activated. To approve claims manually, go to GeoDirectory > Settings > Claim Listings (tab) > Listing Claims (sub-tab), and then you can choose to approve, reject, or delete the submitted claims.
- Automatic approval: This is a more hands-off option where you can set conditions and stipulate that, once a claim is submitted, it will be approved automatically, and the listing will become active. For example:
- If you want people to fill out a form to claim a listing, the free Ninja Forms Integration lets you personalize your claim form and even make several versions to fit the unique needs of your directory. You can also show the claim forms directly on the details page in a tab.
- If you want to set up an email verification system, select the “Auto Approve via Email Verification” option so that business owners receive an email with a link to automatically verify their listing claim.
- If you have a pay-to-claim system and you turn on “Auto Approve on Payment Received,” claims will be automatically approved once payment is received (note: you’ll need the pricing manager add-on installed for this – more on this later).

- And if you want to simply approve submitted listing claims immediately, just head to GeoDirectory > Settings > Claim Listings > Settings and tick the box.
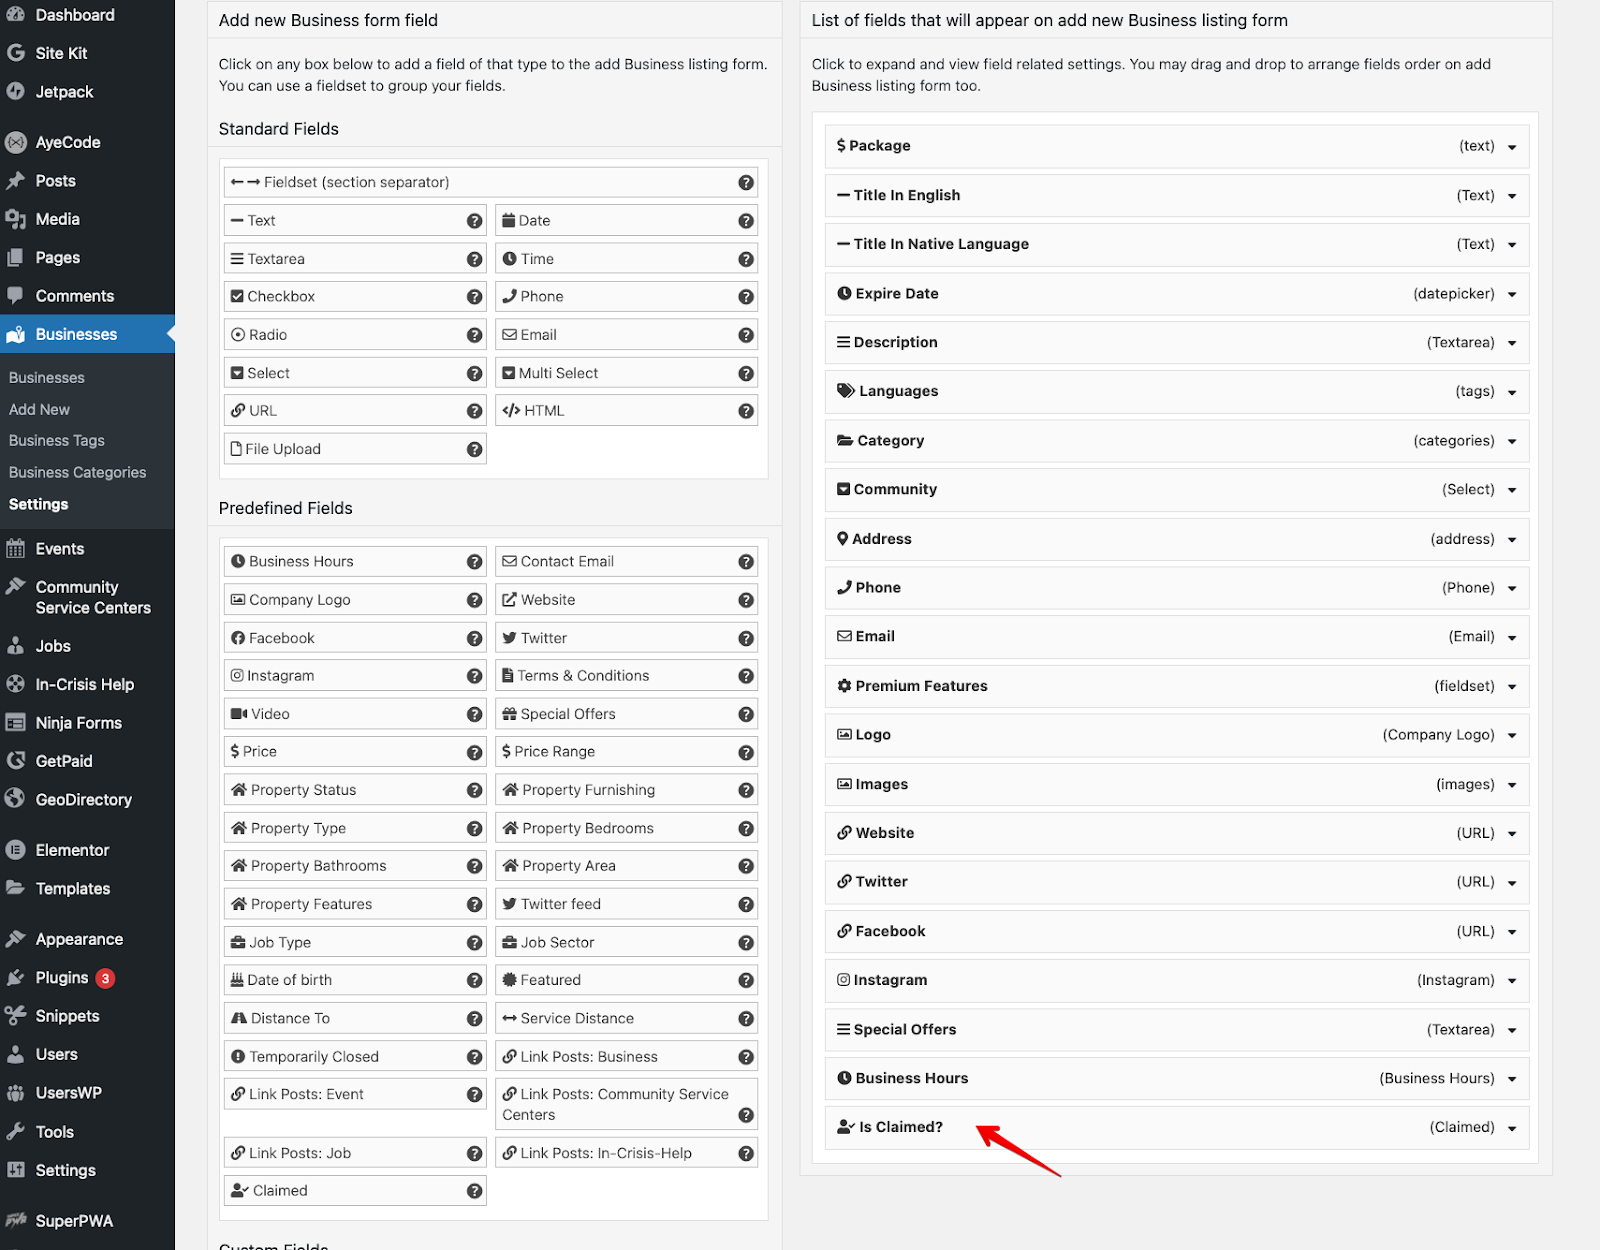
Add the “Is Claimed?” Field
Next up, let’s make sure the “Is Claimed?” custom field is added to your available fields so users can claim listings when adding a new listing.
Here’s how:
Go to CPT > Settings > Form Builder and drag the “Is Claimed?” field over to the available fields section. Without this step, the “Is Claimed?” widget might not show up where you want it.
Add the “Claim Listing” button
You can’t have a “Claim Listing” function without the actual button, so make sure to add it in:
To get the claim button on the front end, use our GD > Post Claim widget. You can add it to any widget area or use it as a shortcode or block in your content.
Ideally, it should be added to the GD Detail page, which is the template used for each single listing page.
It can also be used in the GD Archive Item page, which is the template used for the listing cards.
Here are some things you can configure on it:
- Title – The title for the widget.
- Text – The button or link text.
- Output Type (A) – You can choose whether to output a button or a simple link.
- Show/Hide Options – Choose where the widget should be shown.
Based on the Output Type you select, the widget outputs a button (or a simple link). The button will look something like this:

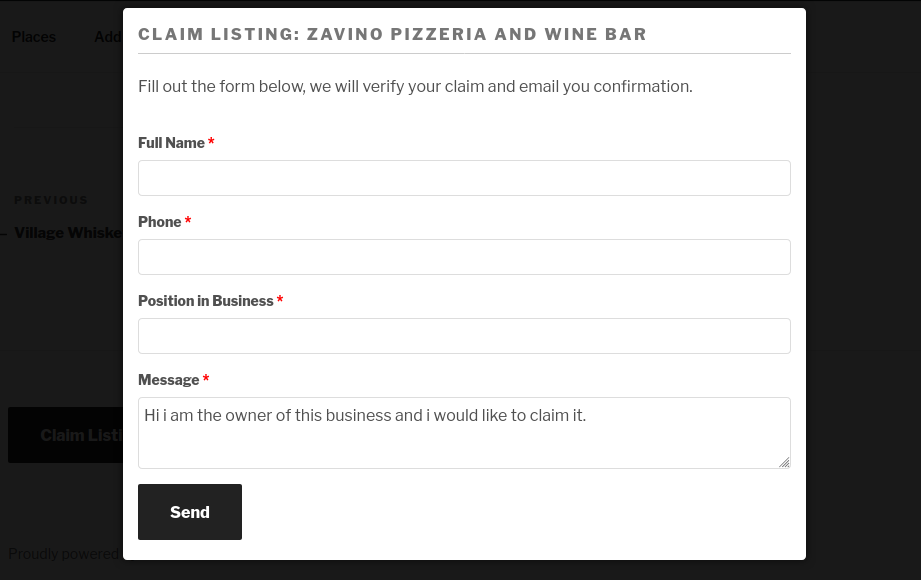
And once someone clicks on it, the form to submit a listing claim will look like this:
Step 3: Integrate with the Pricing and Payments Add-on to make money off the feature
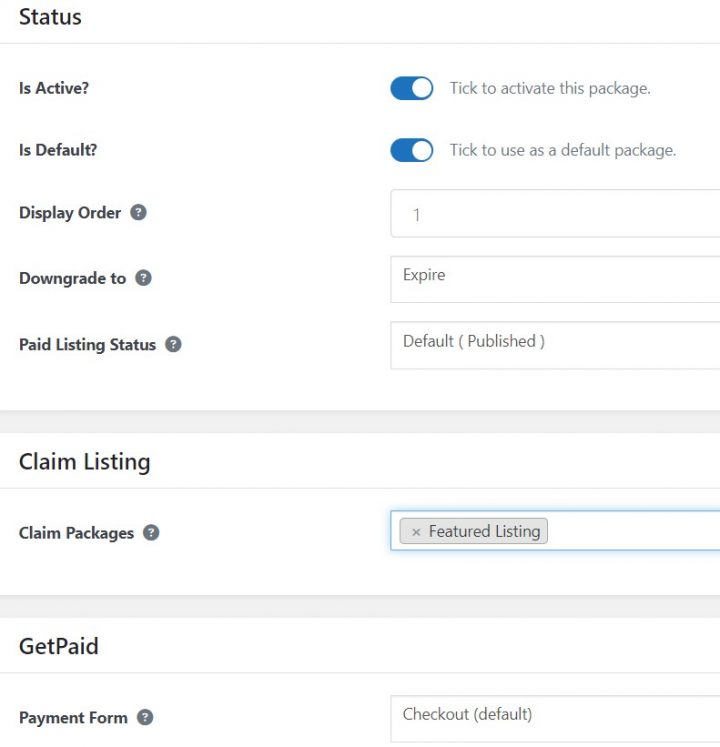
Setting up pricing options for claimed listings is made easy with the GeoDirectory Price Manager add-on.
This add-on gives you full control over the prices for your membership packages and claimed listings, allowing you to create various plans.
You can also integrate payment gateways such as Stripe or PayPal so users can pay for their listings right away.
This makes it easier and more efficient to manage payments, as you won’t have to handle them manually.
Once payment is received, the claim will be automatically approved, and the listing activated – no manual approval or processing is needed!
Step 4: Promote and encourage claiming listings
Once your GeoDirectory Claim Listing feature is up and running, it’s time to promote it and encourage users to claim their listings. Here are a few tips:
- Add a compelling call-to-action on the front end – Use a CTAs section on your homepage to encourage users to claim their listings. Create a section of the advertising landing page explaining everything a business owner needs to know before claiming their listings.
- Let your business owner know why they should claim their listing – Communicate the benefits of claiming a listing, like increased visibility and credibility in search results (like with a ‘verified listing’ badge), more accurate information display, and improved access for customers.
- Offer incentives for claiming – Alongside the obvious benefits, businesses might need an extra push to actually take action. Offer a discount, a special paid listing trial, or bonus points when they claim their listing, and make it easier for them to find the “Claim Listing” button on your front end.
Step 5: Monitor and Manage Claims
Once your claims feature is up and running, it’s important to keep an eye on it.
You may need to monitor and manage claims in various scenarios, including but not limited to:
- When you want to verify the legitimacy of a claimed listing to prevent fraudulent or incorrect information from being published in your directory.
- When you want to enforce your directory’s guidelines and policies for listing claims, such as reviewing and approving claims based on certain criteria.
- When you have a “Pay to Claim” system, ensure payment has been received before approving a listing claim.
- When you need to track and manage the status of listing claims, such as keeping a record of approved, rejected, or pending claims.
- When you need to respond to inquiries or disputes regarding listing claims, you need to access the relevant information and data to resolve the issue.
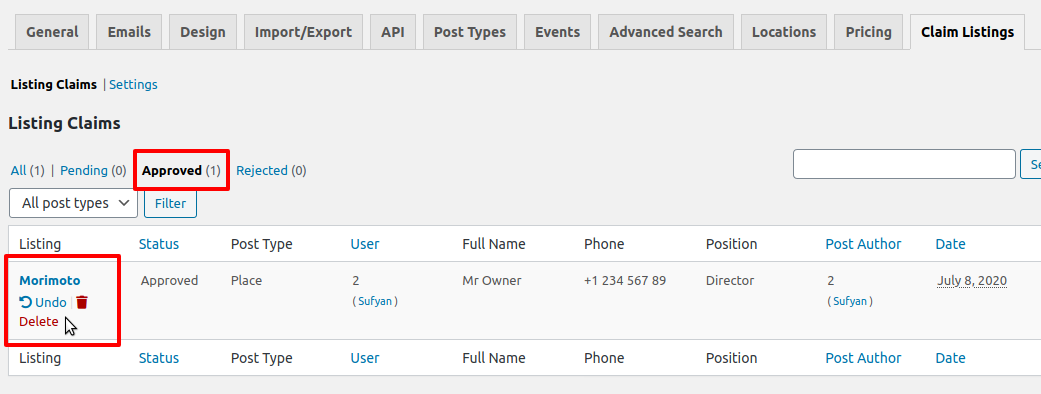
GeoDirectory provides a Claims Dashboard where you can monitor and manage everything. And if, for any reason, you want to unapprove a listing claim, you can do so by heading to the Listing Claims under Approved and clicking Undo for that particular claim.
By monitoring and managing claims, you can ensure that all listings on your directory are legitimate, compliant with your guidelines and policies, and up to date.
This will help to keep your directory accurate, trustworthy, and profitable.
Parting words
That’s how easy it is to get started with the GeoDirectory Claim Listings add-on.
Being able to claim listings is an invaluable feature for any business directory.
With it, you can create a more interactive and engaging user experience and generate additional revenue by allowing users to pay to claim their listing.
We hope this guide has given you a better understanding of the GeoDirectory Claim Listing add-on and how to use it effectively.
To further customize and optimize the claiming feature on your directory, be sure to check out the GeoDirectory Price Manager add-on and consider integrating UsersWP with GD for better user account management.
So what are you waiting for? Get started today and make listing claiming easy and profitable!
Good luck with your directory venture, and happy claiming! 🙂
Newsletter - Stay Updated!
Get the latest news, tips, and exclusive content directly in your inbox.