Welcome to the awesome GeoDirectory Blog
Here you’ll find all info needed to start a successful online business directory
How we built wp-rankings.com: 60,000 listings and 16 million rows on GeoDirectory

Last week, we put wp-rankings.com live. It tracks every plugin in the WordPress.org repository: growth, install estimates, rankings, momentum, keyword positions, and competitor comparisons. Here’s what it runs on: 60,000+ listings 40 custom fields on every one of them 16.2 million rows of historical data behind it 3,000 real human visitors on launch day, most […]
Best WordPress Membership Plugin for Directory Sites (For Most People): Why Block-Level Visibility Rules Win

Most directory operators who add paid memberships to their site reach for a generic WordPress membership plugin. MemberPress, Restrict Content Pro, Paid Memberships Pro, Ultimate Member, ProfilePress. All competent for the job they were built for: protecting whole pages or sections of content behind a paywall. None of them were built for the specific job […]
GeoDirectory vs HivePress

Which Directory plugin is best for your Website? So you’ve decided to build a directory or marketplace site on WordPress. You did your research, and two names kept showing up: GeoDirectory and HivePress. Both are real plugins, with years of operating history and free versions on WordPress.org. Both ship the basics of a working directory […]
GeoDirectory vs Directorist – which plugin will you trust?

What’s best, Directorist or GeoDirectory? We’ll get this out of the way first: we make GeoDirectory. So this isn’t a neutral review, and we won’t pretend it is. What it is: an honest, detailed comparison from people who’ve spent years building directory sites and watching what breaks at scale. We know both plugins. We know […]
How to Create Custom Map Markers (the Complete Guide)

If you’ve ever tried to add custom map markers to a directory site, a Leaflet map, or a Mapbox dashboard, you already know the problem. The default markers look generic. If you’ve ever tried to add custom map markers to a directory site, a Leaflet map, or a Mapbox dashboard, you know the loop. The […]
OpenStreetMap vs Google Maps: Which One Actually Makes Sense for Your Project?

Most comparisons between OpenStreetMap and Google Maps are useless. They list features, throw in a pricing table, and stop there. That’s not how you choose a map. The real difference only shows up later. When your traffic grows, costs start creeping up, or you need something slightly custom and hit a wall. By then, the […]
Founder Story: Frey Chou

Editor’s note (2026 update) This interview was published last year, when Frey was building most of his directories on WordPress using tools like GeoDirectory. Since then, he has been experimenting heavily with AI coding tools such as Claude Code, and many of his recent projects are now built entirely using Vibe coding. Experimenting with AI […]
Founder Story: Zyppy List
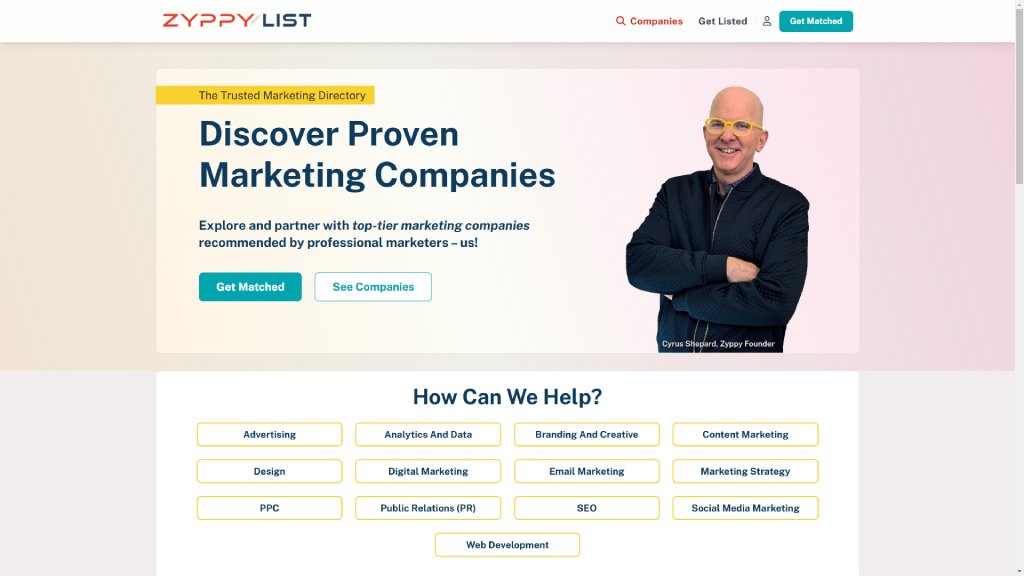
In the third post of the “Founder Story” series, we highlight Zyppy List, a thoughtfully curated directory built to connect businesses with trustworthy marketing agencies. Cyrus Shepard, an experienced SEO professional, created Zyppy List after realizing how unreliable most marketing directories were, often packed with unvetted listings and low-quality results. Drawing from his 15 years […]
8+ Ways to Monetize a Directory Website

If you’re wondering how to make money with websites, creating an online directory is one of the easiest ways. It’s even how Elon Musk got started and funded X.com, which later became PayPal. But now, you must know how to build a paid directory website. You can do this well with WordPress and our GeoDirectory […]
Founder Story: AttractionsNearMe.co.uk
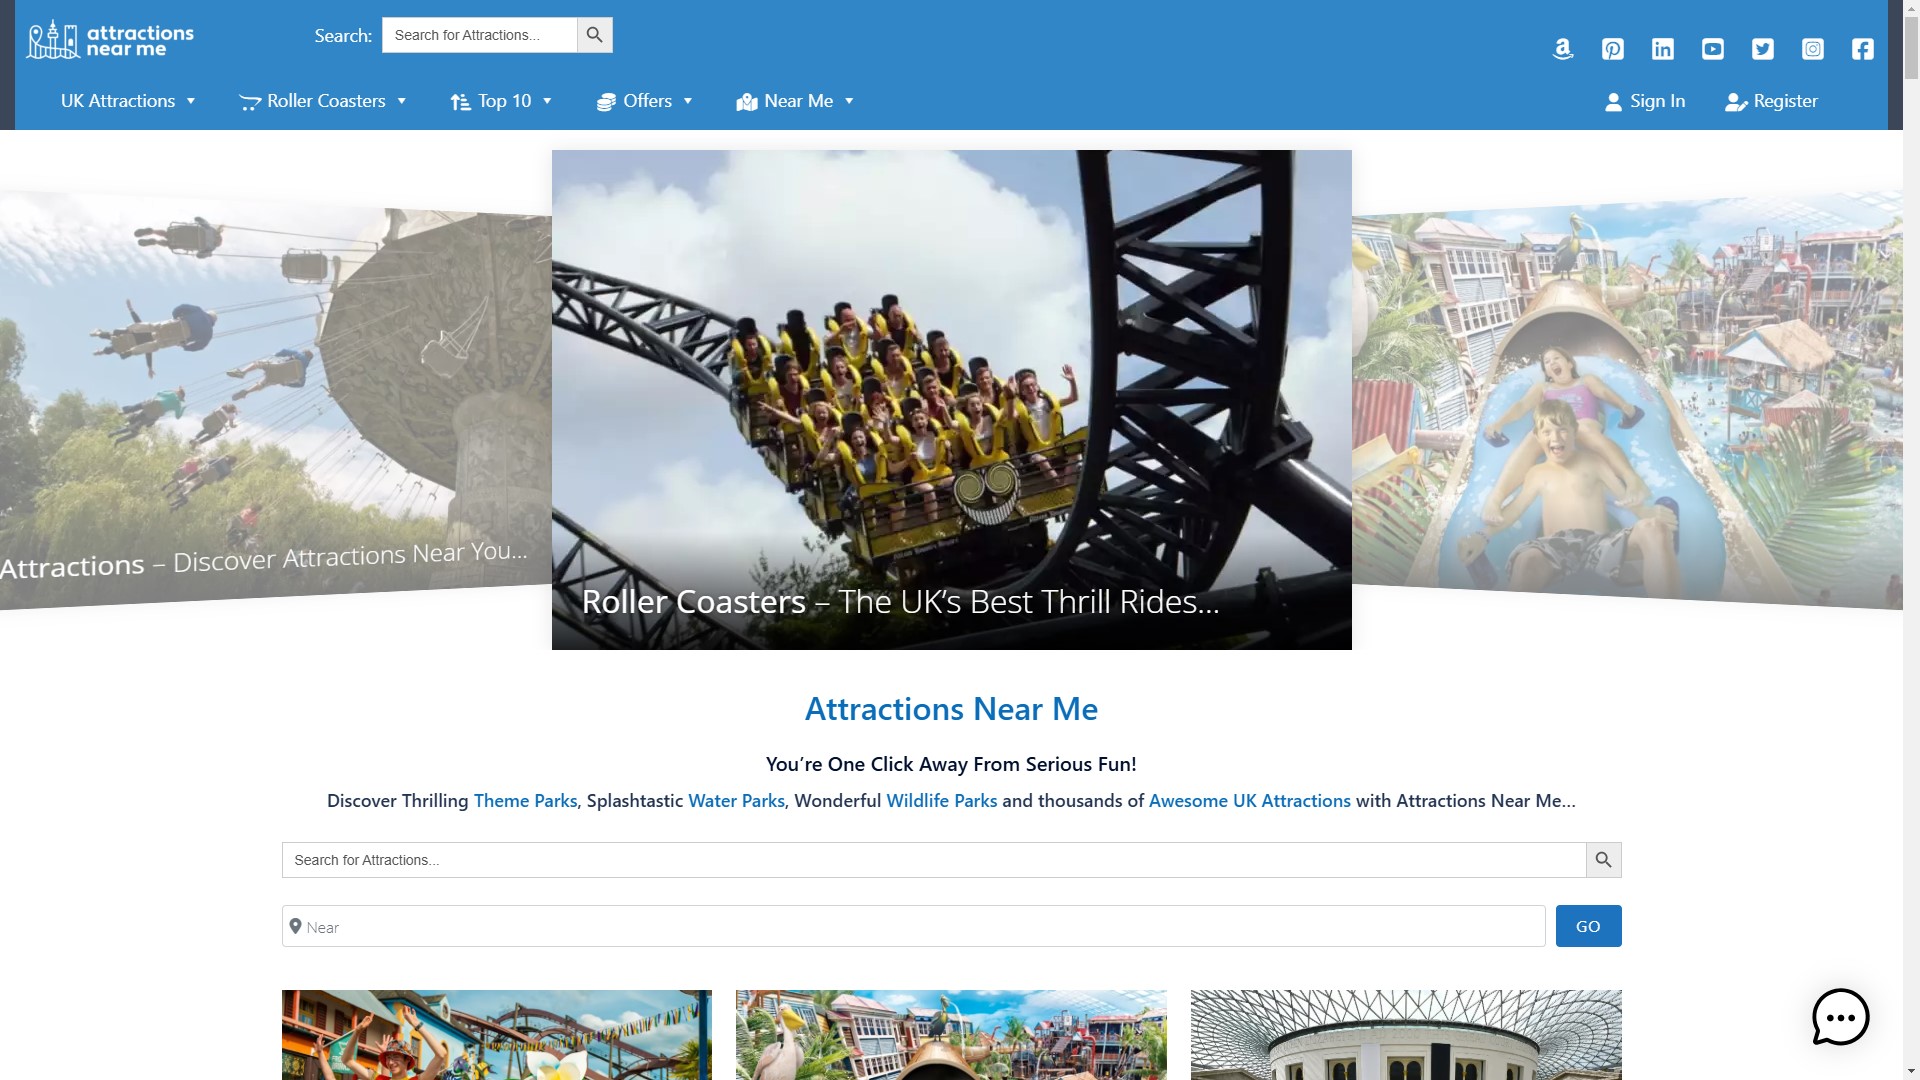
Meet Dan, the visionary behind AttractionsNearMe.co.uk In the second post of the “Founder Story” series, we explore AttractionsNearMe.co.uk, the go-to guide for anyone exploring fun, family-friendly experiences across the UK. From big theme parks to hidden countryside spots, Dan saw a simple need: people wanted an easy way to find deals, honest reviews, and up-to-date […]