
These are the sections you will find when you install the GeoDirectory Core (free) plugin only:
Overview General Google Analytics Design Permalinks Titles & Permalinks Notifications Set Default Location Place Settings Theme Compatibility Import & Export GD Tools
GeoDirectory > General > Google Analytics
This option will show meaningful statistics to your listing owners, read more about GD’s Front end Google Analytics here.
This setup guide assumes you already have your Google Analytics profile setup for your website. It will not work without an active Google Analytics account.
If you use the Pricing Manager, Google Analytics can be turned on and off for different packages.
Show business owner Google Analytics stats:
- This option simply enables or disables the showing of Google Analytics to users.
Google analytics access
- Click on Authorize.
- That will open a popup:
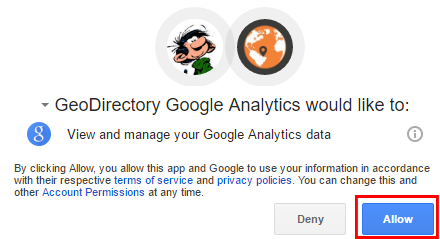
- Click Allow.
- That will generate a special code:

- Copy that code and paste it in the Google analytics Auth Code field:

- Now Save.
- This will populate the Analytics Account field with the sites set up in your Analytics account:
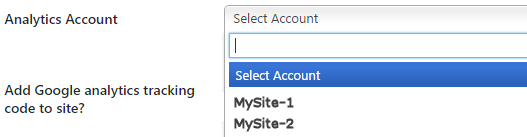
- Select the correct website profile and Save.
Add Google analytics tracking code to site?
- If you have not added your tracking code yet anywhere else on your site, select Yes here. That is by far the simplest way to add the code to your site.
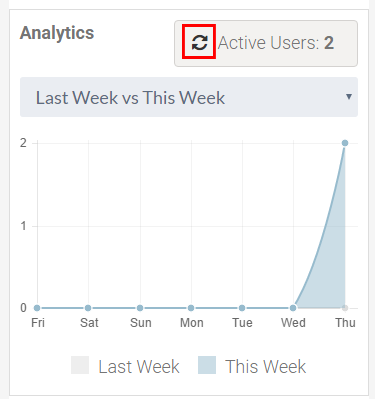
Auto refresh active users?
- Select here if you want the statistics to auto-refresh or when the user clicks the refresh button again:
Time interval for auto refresh active users
- If you have set the above setting to auto-refresh, set the interval between data refresh.