On this page:
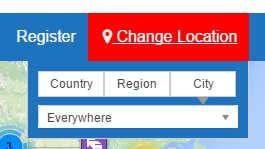
1. Custom Post Type selector 2. Category selector 3. “Search for” field 4. “Near” field 5. The “Near me” compass 6. Filtering with custom fields Adding a Select custom field to the search bar
Read Understanding navigation, searching and browsing … to understand the basic search function better.
1. Custom Post Type (CPT) selector
 This selector will only be shown if you have more than one Custom Post Type.
- The CPT selector defaults to the current CPT of a Listings, detail or search page. For example on an Events category page, Events will be listed first in the selector.
- On a location page or any standard WP page or post, the order of the CPTs in the selector can be determined by changing the order at GD > Custom Post Types > Choose a CPT > Advance Mode tab > Order in post type list (Custom Post Types addon required).
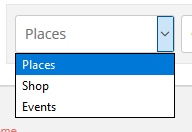
2. Category selector
 The categories drop down can be set up for each Custom Post Type and the Advanced Search addon is required.
- Activate the Advanced Search addon.
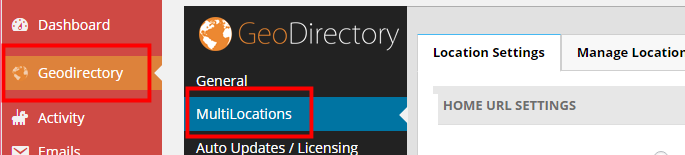
- Go to GD > Place (or other CPT) Settings > Custom Fields tab.
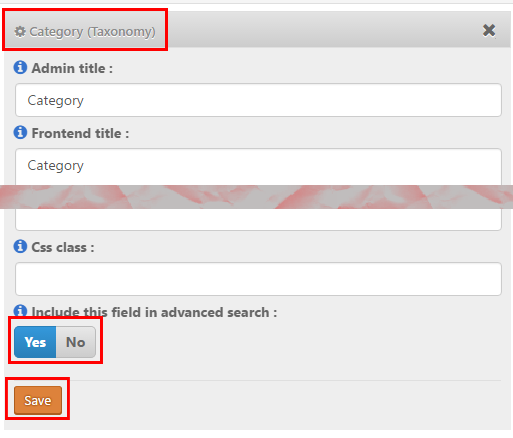
- Select Yes to include the categories drop down in the Advanced Search:
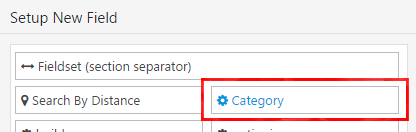
- Then go to the Advanced Search tab and click on the Category field on the left hand side, that will move it to the available fields on the right:
- Now open the Category field there, and select to Show in main search bar
:
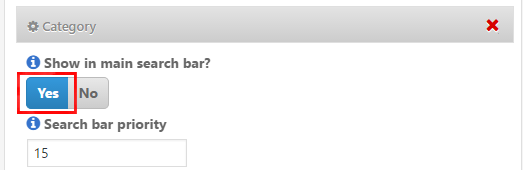
- The Search bar priority setting allows you to move the Category selector left or right in the main search bar.
3. “Search for” field
- GD will check the entry titles, description and taxonomies (tags and categories) of the listings.
- The search will not check custom fields or locations.
- The search will only search one Custom Post type at the time.
- With the Advanced Search addon, you can set this field to auto-suggest listings based on the title of the listings, see Search Autocompleter settings.
- You can change the default text at GD > Design > Search.
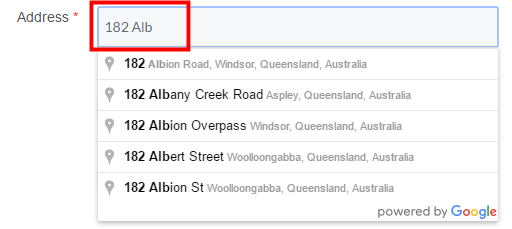
4. “Near” field
- When you enter a location in the Near field, GD will calculate the center of that location.
- GD then will look for all listings within an area with a default that match the Search for criteria.
- Your default search area is set at GD > General > Search.
- The default GD search is not an IN search, but a search NEAR THE CENTER OF.
For example, assuming your search area is set to 40 square miles:- If you enter World Trade Center, you will get listings around that building.
- If you enter United States, you will get listings somewhere around Buffalo in Kansas, because that is where Google situates the center of the United States.
- If you enter California, you will get listings somewhere in the Sierra National Forest.
- Be aware of some issues:
- If you enter a ZIP or a postcode, be aware that that postcode might be used by different countries in the world and might return results around the center of a city in a different country.
- A similar issue might occur for place names of cities in different countries.
- Please review Add location specific text to (Near) search for Google.
- Although the default search for this field is a NEAR THE CENTER OF search, with the Advanced Search addon, you can set this field to auto-suggest locations based on the title of the listings, see Near Autocompleter settings.
Please note that if you have the Location Manager addon activated, the Near Autocompleter will start giving suggestions as your visitor starts searching, which if selected will search IN the location being entered (ie the city or region in the address of the listing) and will not search an area NEAR THE CENTER OF that location” - You can change the default text at GD > Design > Search.
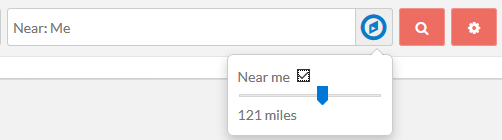
5. The “Near me” compass
- This compass will only show if you have the Advanced Search addon active.
- It allows for the search to be limited or expanded by a radius around the visitor’s current location (if Near me is ticked) or near the center of the location selection in the Near field (if Near me is not ticked):
- Also review the Geolocation settings.
6. Filtering with custom fields
- This will only work if you have the Advanced Search addon active.
- Create your custom fields at GD > Place (or other CPT) Settings > Custom Fields.
- Then navigate to the Custom fields tab and expand any custom field you would like to filter with search and tick the checkbox Include this field in filter:
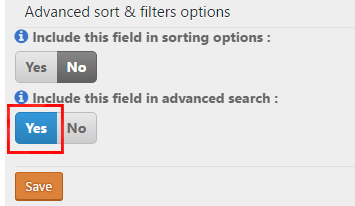
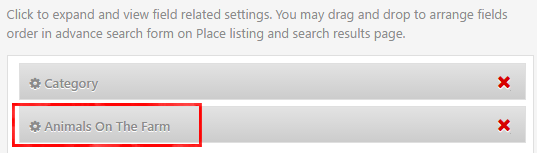
- Then go to the Advanced Search tab and click on the custom field on the left hand side, that will move it to the available fields on the right:
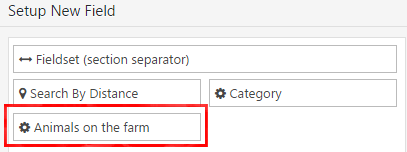
- Now open the field by clicking on it, and select the settings:
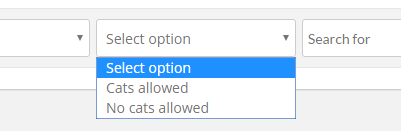
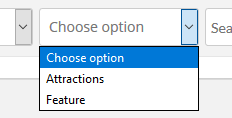
- Now clicking on the Search cogwheel will open the custom filter:
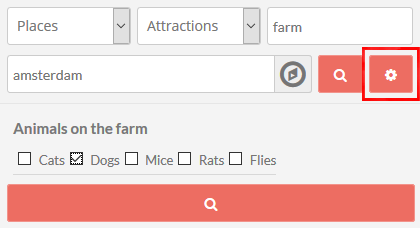
- Now if your visitors click the search button in the example above, the results will return:
- Listings from the Places CPT only,
- that are in the Attractions category, and
- have farm in the title, description, category or tag of the listing, and
- are around the center of Amsterdam (depending on the radius set in the system), and
- will be filtered to only return those listings that have dogs.
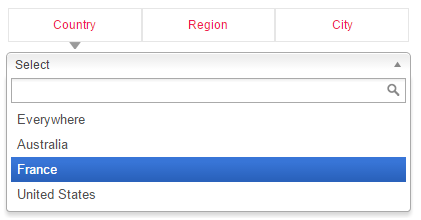
Adding a Select custom field to the search bar
- Select custom fields can also be added to the search bar – but only Select, not Multiselect or any other, they can only be added to the Customized Search section as explained above.
- Follow steps 1 to 4 from 6. Filtering with custom fields above.
- Now open your Select custom field there, and select to Show in main search bar
:
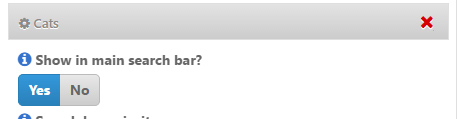
- That will add the Select custom field to the main search bar: