IntroductionInstallationConfigurationGeneralPricesNotificationsResourcesTips and Tricks
The Pricing Manager addon integrates with WP Invoicing plugin to convert your GeoDirectory powered Free Listing website into a Paid Listing website.
If you are planning to monetize your website, then these are the plugin you are looking for.
Pricing Manager is used to configure the pricing packages for the listings on your site. Pricing Manager does not accept payments.
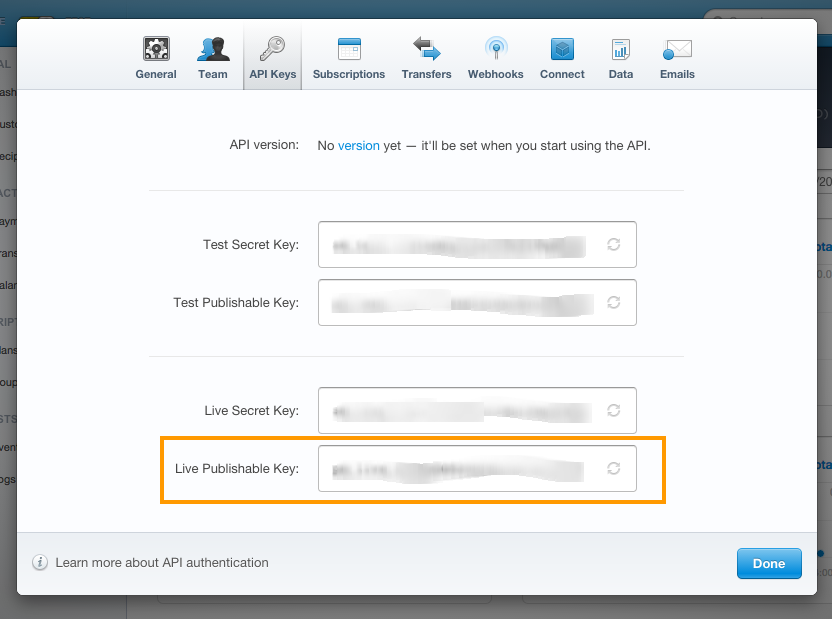
To accept payments for a package you will need to install WP Invoicing.
- You can use the Pricing Manager to create different packages, for example Featured listings, listings with or without certain custom fields etc.
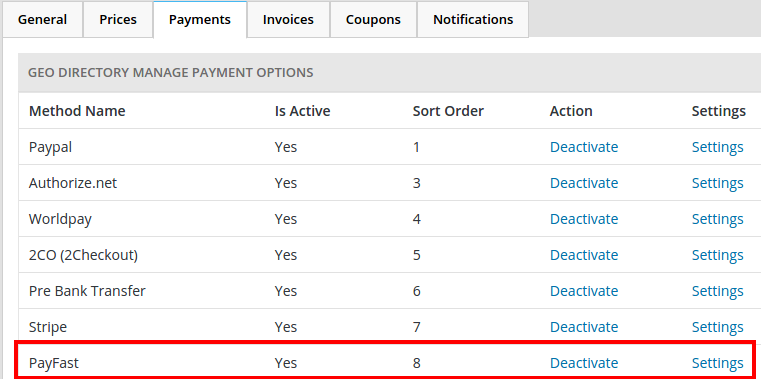
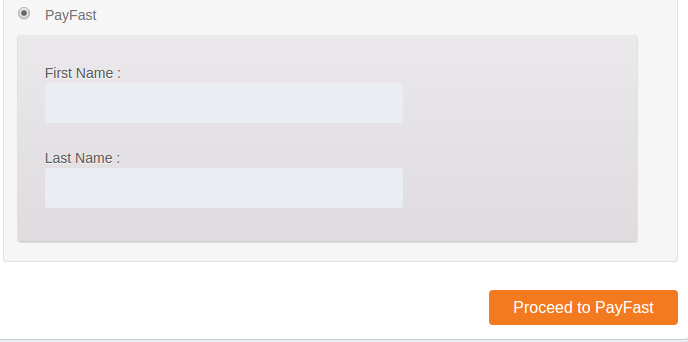
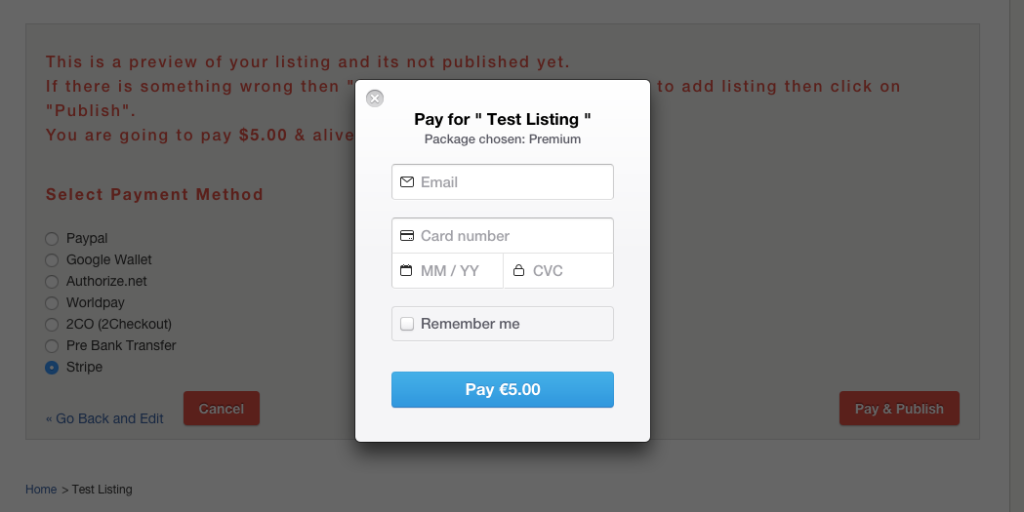
- If you want to charge a fee for any of your listing packages, you will need the WP Invoicing plugin and one or more gateways.
- WP Invoicing allows you to take payments using many different gateways.
- WP Invoicing is created by the same team that brings you GeoDirectory. For support with gateways or any other WP Invoicing feature please post a topic to the WP Invoicing support forum.
- You can install the Pricing Manager first, and then WP Invoicing if you want to take payments.
- You can install and activate them in any order.
- Follow the addon installation instructions here.
- After plugin activation, you will be redirected to the Prices and Payments configuration page:
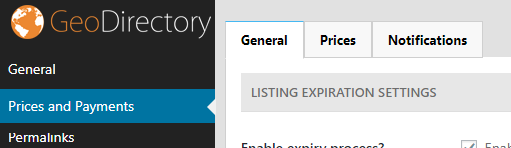
- Start with configuring the General settings (see below),
- then set up your payment gateways in the Payment tab (see below),
- and then you can create your different price packages (see below).
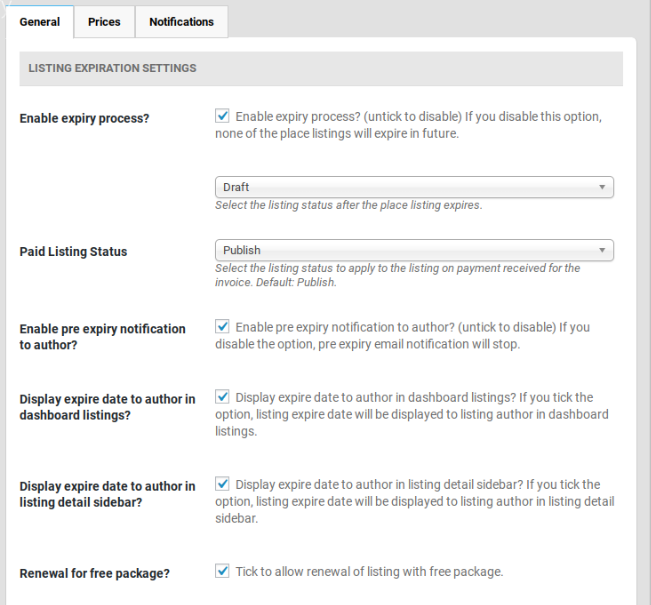
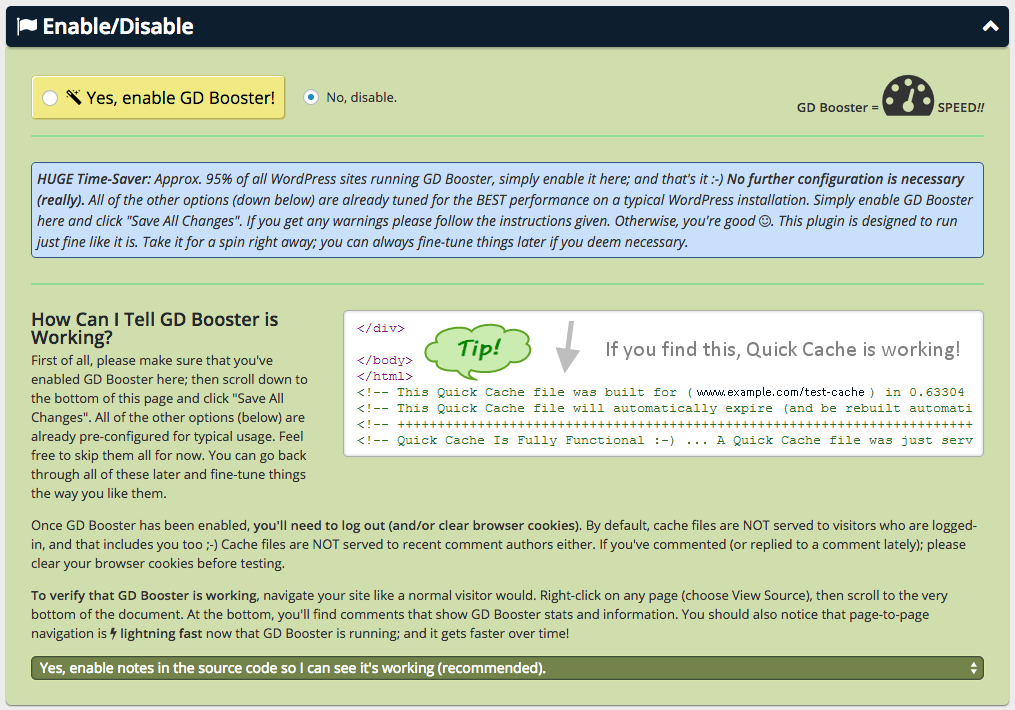
Enable expiry process?
- If you disable this option, none of the listings will expire in future.
- Select the listing status after the listing expires. The following options are available:
- Draft – After expiration listing will be converted to draft.
- Publish – After expiration listing will still be displayed.
- Trash – After expiration listing will be moved to trash.
Paid Listing Status
- If you are taking payments for your listings, select here what should happen when a listing is submitted and payment has been made:
- Publish – The listing will be live on your website immediately, this is the default setting.
- Pending Review
- Draft
Enable pre expiry notification to author?
- Select this if you do not want to send expiry notices to your users.
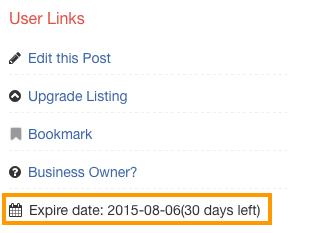
Display expiry date to author in dashboard listings?
- This will display the end date of the listing for the user only:

- Display expire date to author in listing detail sidebar?
- Display expire date to author in listing detail sidebar? If you tick the option, listing expire date will be displayed to listing author in listing detail sidebar.
Renewal for free package?
- Tick to allow renewal of listing with free package.
- If this option is not ticked then free packages cannot be renewed and will not receive renewal process emails.
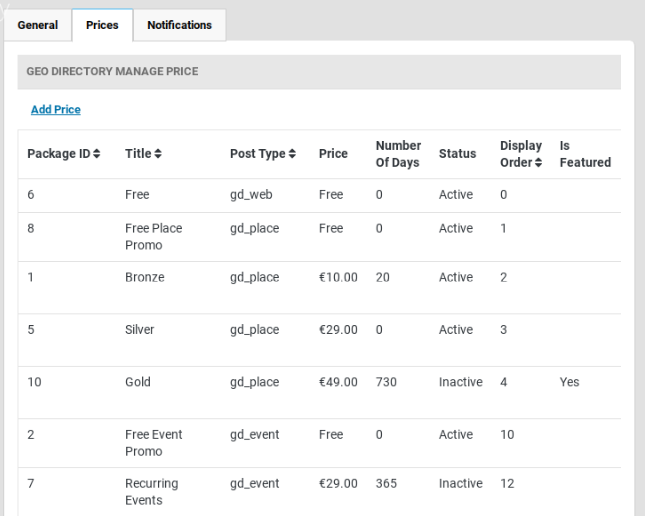

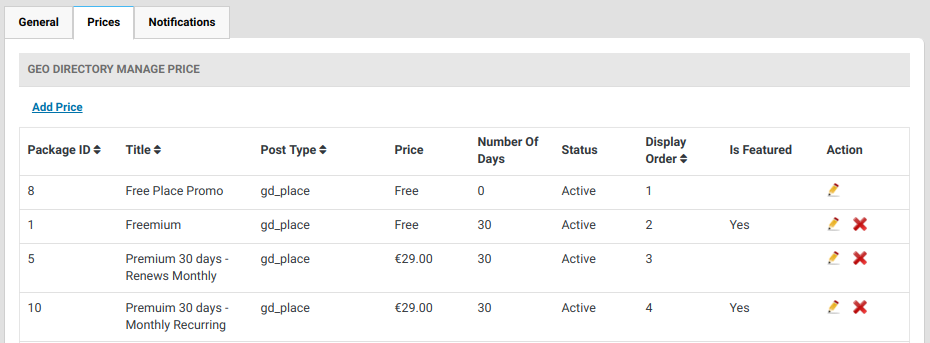
Add Price
- Price title
- This will be your package title.
- Post type
- The post type of this package.
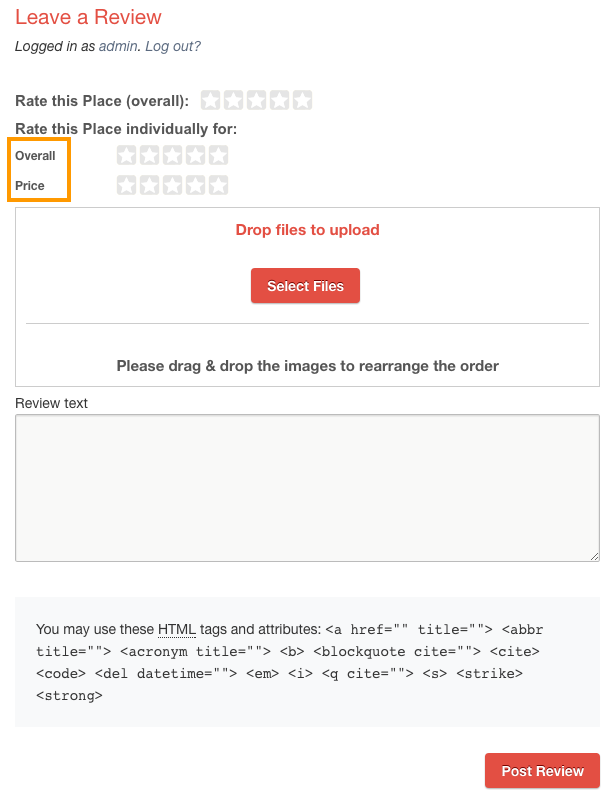
- Post fields
- Select the post fields available for this package.
- For example, if you select only time field for this package, then it looks like this.

- Price amount ( $ )
- Package price
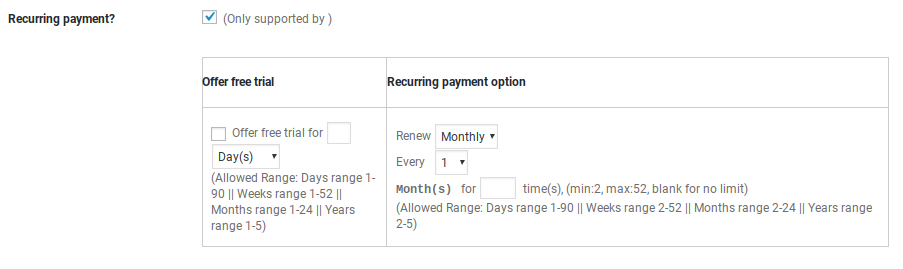
- Recurring payment?
- Is this a recurring package? (Note: Only supported by some Gateways.)
- The site must have a gateway installed that supports recurring payments to make use of this feature.
- See gateways for WP Invoicing here: https://wpinvoicing.com/downloads/category/gateways/
- When select the options presented look like this:
- Status
- Is this package active or inactive?
- Is featured
- Is this a featured package?
- Is default
- Is this the default package?
- Default package will be automatically selected, when you load add listing page.
- Display Order
- Display sort order on front end package listing
- In the following screenshot
- Premium Plus – Display order set to 1
- Premium – Display order set to 2
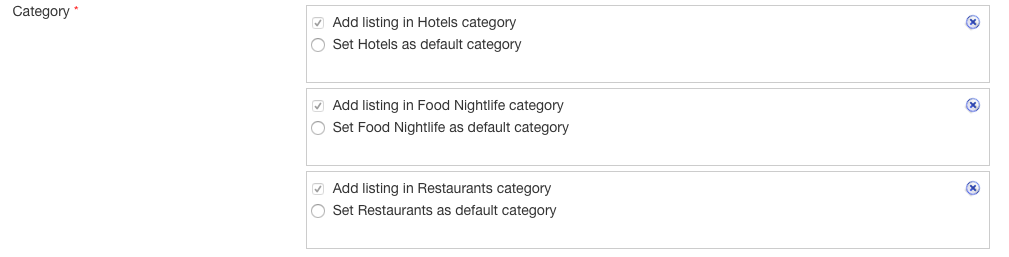
- Exclude categories
- Select multiple categories to exclude by holding down “Ctrl” key.
- If removing a parent category, you should remove its child categories.
- It is not recommended to exclude categories from live packages as users will not be able to remove that category from the frontend.
- Excluded categories will be removed from add listing form category dropdown.
- Expire, Downgrade to
- When a listing get expired, do you want to let it expire? OR downgrade package?. If downgrade which package? Note: You need to have more than 1 packages if you are planning to use downgrade option.
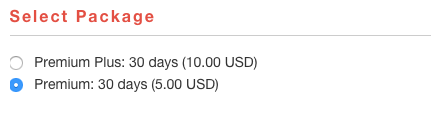
- Title to be display while add listing
- Example: Premium: 30 days (5.00 USD)
- Keep blank to use default. Default text looks like this ( Premium : number of publish days are 0 (5.00 USD) )
- In add listing page, it would look like this with default text.

- With custom text, it would look like this

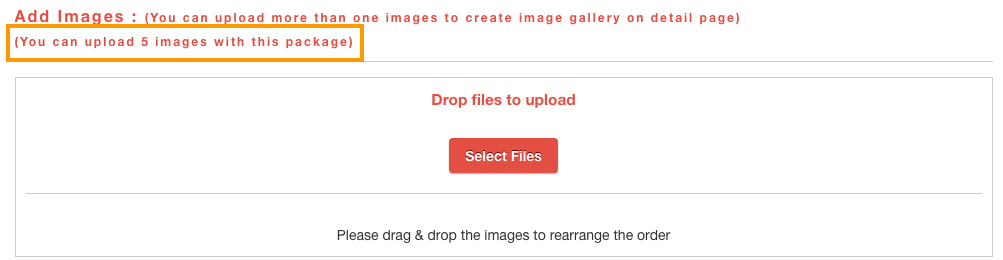
- Image limit
- The maximum number of images a user can upload to the listing.
- For example: If you set the value to 5, in add listing page it would look like this.
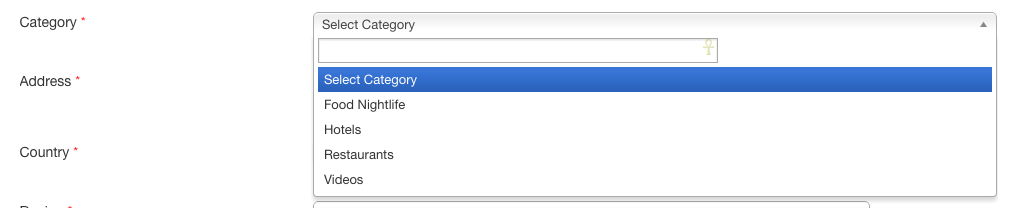
- Category limit
- The maximum number of categories, a user can select to a listing.
- For example, If you set it to 3, The category dropdown will not be available after selecting 3 categories.
- Apply description limit?
- Select Yes if you would like to apply description limit.
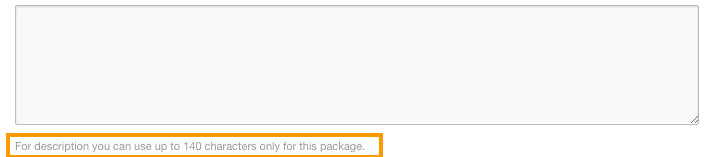
- Description limit
- Characters limit for listing description
- Ex: If you enter 140, then user cannot enter more than 140 characters.
- Apply tags limit?
- If set to NO the default character limit of 40 will be used.
- Select Yes if you would like to apply tags limit.
- Tags limit
- Characters limit for listing tags
- Ex: If you enter 50, then user cannot enter more than 50 characters for tags.

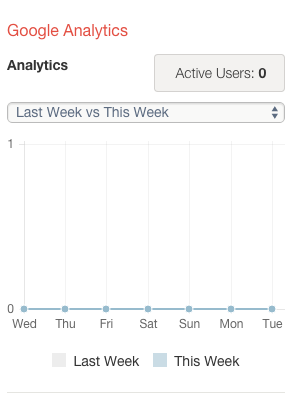
- Google analytics
- Select Yes if you would like to enable Google Analytics for this package?
- If set to Yes
- Make sure you configured Geodirectory > General > Google Analytics section correctly. Refer this page if you need help.
- Make sure Geodirectory > Design > Detail > Disable Google Analytics section not checked.
- Google Analytics will be visible in detail page sidebar.
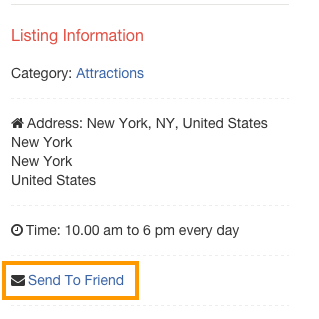
- Send To Friend
- Select Yes if you would like to enable Send To Friend option for this package?
- Send To Friend will be visible in Listing Information if set to Yes
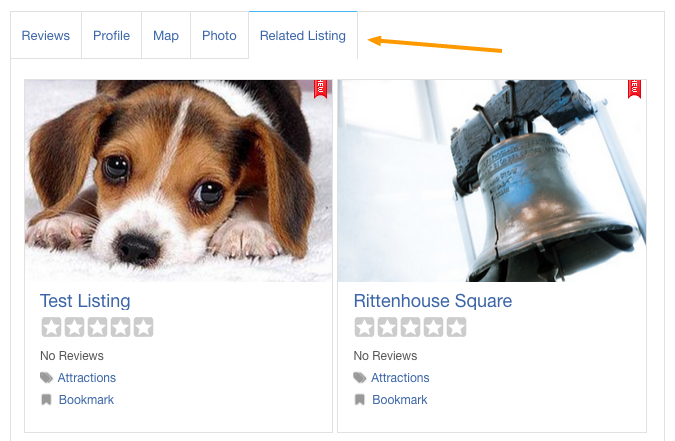
- Hide related listing tab
- Select Yes if you would like to hide related listing tab for this package?
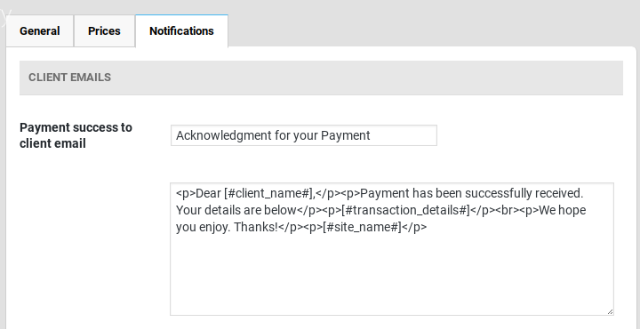
Payment success to client email
- This email will be sent to the Client.
- This email will be triggered, after successful payment.
- Default subject is: Acknowledgment for your Payment
Post renew success to client email
- This email will be sent to the Client.
- This email will be triggered, after successful listing renewal.
- Default subject is: Renewal of listing ID:#[#post_id#]
Listing expiration email
- This email will be sent to the Client.
- This email will be triggered, X days before the listing expiration date. Where X is the number of days you set in GeoDirectory -> Prices and Payments -> Enable pre expiry notice days
- Default subject is: Place listing expiration Notification
Post Upgrade Success to Client Email
- This email will be sent to the Client.
- This email will be triggered, after successful listing upgrade.
- Default subject is: Upgrade of listing ID:#[#post_id#]
Admin Emails
Payment success to admin email
- This email will be sent to the Admin.
- This email will be triggered, after successful payment.
- Default subject is: Payment received successful
Post renewal success to admin email
- This email will be sent to the Admin.
- This email will be triggered, after successful listing renewal.
- Default subject is: Renewal of listing ID:#[#post_id#]
Post upgrade success to admin email
- This email will be sent to the Admin.
- This email will be triggered, after successful listing upgrade
- Default subject is: Upgrade of listing ID:#[#post_id#]
Payment fail to admin email
- This email will be sent to the Admin.
- This email will be triggered, when a payment get failed.
- Default subject is: IPN INVALID – Place Listing Submitted
- When activating the Pricing Manager addon, don’t forget to review the settings of the default (free) package.
Installation of the GeoDirectory core plugin creates a default listing type that allows users to add all fields, unlimited categories and images etc.
- Importing listings: Set up your price packages and custom fields before creating your CSV file.
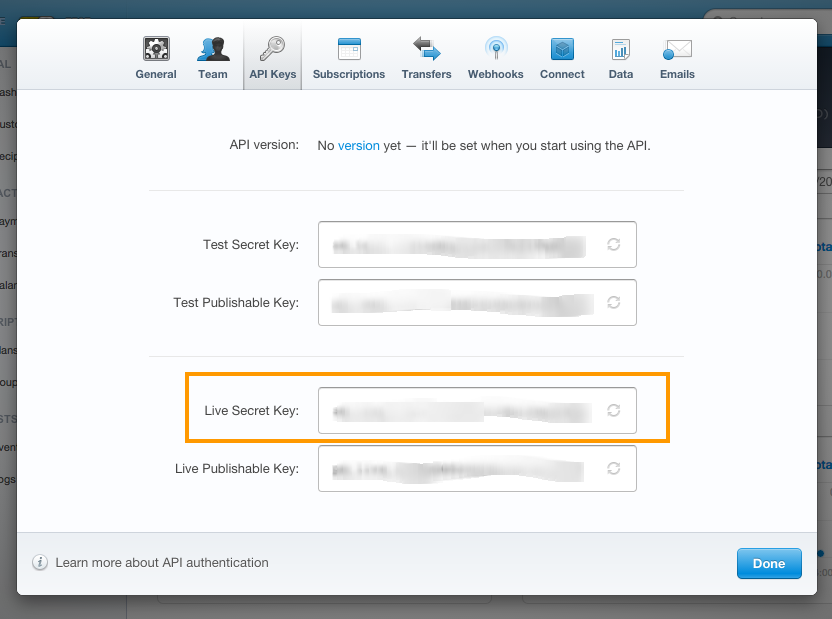
Recurring billing is for items/packages that are renewed automatically. Recurring billing always uses remote gateways for the management of the recurring payments and billing cycle for the subscription.
If a user has signed up for a recurring package that is not free, it is important to understand that the subscription itself is managed on a remote gateway. That means that the billing period, and billing amount, are both located on a remote site.
It may be possible to make changes to the subscription, but whether it is or not is based on the policies and capabilities of the remote gateway platform. Stripe at least allows some changes, but exactly what can be changed will be available through their platform, and based on their policies. These settings cannot be adjusted for active subscriptions within GeoDirectory or Invoicing.
For GeoDirectory site managers, be very careful to avoid adjusting price package settings for active listings. Changing the package for a listing that is already a part of a Invoicing Subscription will break the link from the listing to the existing subscription. Once the link is broken it cannot be restored, so subscriptions will have to be recreated by the end user.
A ‘freemium trial’ preview of your premium listing package can be a great way to entice customers to upgrade to a paid package. In the following paragraphs we will try to cover the settings needed to accomplish this.
First adjust the general settings available at:
GeoDirectory – Prices and Payments – General
First make sure that the expiry process is enabled at GeoDirectory – Pricing and Payments

To make sure that the free packages cannot be renewed, untick:

Now for the price package settings. Click to see the Prices at
GeoDirectory – Prices and Payments – Prices
In the most basic setup, perhaps packages 1 and 3 would be enough, but to create a real “Freemium trial” you will need a second Free package only available for a limited time.
In order to accomplish the setup, let’s use some imaginary price packages.
1. Free Place Promo – Free forever
2. Freemium – Free for 30 days (then it expires and downgrades to #1)
3. Premium Monthly – non-recurring, expires at 30 days. (pre-bank, Stripe)
4. Premium Monthly – recurring, expires after 24 months cancel anytime. (Stripe)
Now it is time to setup the downgrade from 2 to 1.
This is called ‘downgrade on expiry’. This must be setup in package 2, such that, upon expiry, the listing is downgraded to 1. You will also want to mark the setting that disables renewal for free packages.

We want the Freemium package to be added by the site editor, so that normal users cannot come in and select it. You might have a different feeling, but, if you want to hide the Freemium package on the add-listing page, you can use this CSS:
[css]
#geodir_price_package_1 {display: none;}
[/css]
Here are the steps the site manager would take.
A. Adds a new listing, and in the backend assigns package 2.
B. The site manager informs the potential customer of how to claim the listing.
C. The user claims the listing and can upgrade to 3 or 4, or let 2 expire and the listing will downgrade automatically to #1.
To make sure your users know they can upgrade to a paid package, make sure the following is set for 1 & 2.

Only package #4 will require a notification from a remote gateway to expire the listing (because it is recurring, and the status of the subscription is held in the remote gateway). Other packages will expire automatically at the end of the period.
I have a package that is recurring every 30 days, but the customers are not receiving pre-expiry emails before each billing period.
Pre-expiry emails are only sent before the expiration of the listing, not for each renewal.