Introduction
Genesis Framework
Preparation
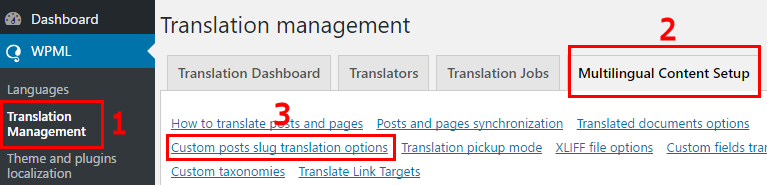
Home Page Setup
Widgets and Widget Areas
FAQ – Frequently Asked Questions
The Geo Travel – Genesis Child Theme is a mobile responsive and HTML5 theme especially developed to optimize GD with Genesis Framework.
View the demo
Genesis Framework is premium theme, and one of the most popular and widely used theme frameworks. The Genesis Framework parent theme is required when you wish to use the GeoTravel Child theme.
To proceed with installation of the Geo Travel – Genesis Child Theme theme you will need your own copy of the Genesis Framework parent theme.
Get Genesis Framework Here: https://my.studiopress.com/themes/genesis/
- Install BUT DO NOT ACTIVATE the Genesis Framework. Link: https://my.studiopress.com/themes/genesis/
- Download the Geo Travel – Genesis Child Theme from your download area. Link: https://wpgeodirectory.com/your-account/
- Upload the Geo Travel – Genesis Child Theme and activate it.
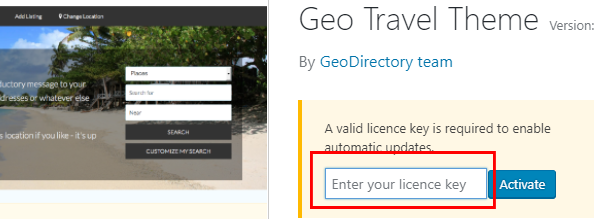
- You will need to enter your license so you are notified if the child theme needs updating:
GeoTravel Child theme works best when the WordPress Site’s Home page is set to a different page as “GD Home”, the home page of your GeoDirectory directory.
To set this up on your site, the same way the demo works:
- Go to GeoDirectory > Permalinks > GD Home and choose a page as your directory homepage. By default this is set to a page called “GD Home” but you can set it to any page you like.
- Save the settings
- Go to WordPress > Settings > Reading and choose a different page for the “Static Front Page” of your site.
- Save the settings
- Visit the site home page to see the changes.
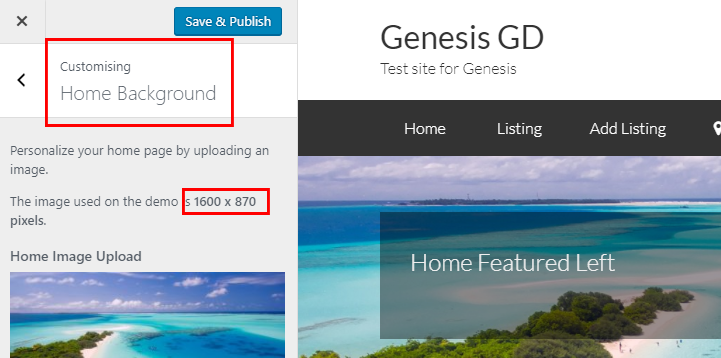
The following instructions will help you setup the background image and the upper featured area for the homepage to match the demo.
- Go to Appearance > Customize > Home Background and upload the background image for the homepage:
- Go to Appearance > Widgets.
- Add a text widget to the Home Featured Left widget area and add your custom text.
- Add the GD Search widget to the Home Featured Right widget area.
GeoDirectory uses widgets to display listings. You can read more about all the widgets that are available here: https://wpgeodirectory.com/docs/widgets/ .
To setup your site to match the demo, add the following elements on your site.
Dummy Data
Add dummy data to populate the widgets on the home page. You can skip this if you already have listings on your site.
- Go to GeoDirectory > General > Dummy Data
- Adjust: Select 10 or more.
- Insert data
Latest Places
Add a GD Popular Post widget to the Home Top widget area.
- Go to Appearance > Appearance > Widgets
- Adjust: On the left side of the screen find the “GD Popular Post View widget.
- Adjust: Select the widget and choose to add to “Home Top“.
- Find the GD Home Top widget area on the right side and open the settings for the GD Popular Post View widget.
- Adjust: Title > “Latest %posttype_plural_label%“.
- Adjust: Sort by > “Latest“.
- Adjust: Number of posts > “5“.
- Adjust: Layout > “Grid View (5 Columns)“.
- Save settings
- Visit the site home page to see the changes.
The Geo Travel – Genesis Child Theme uses the following widget areas:
- The blue sections will show on all your site’s pages.
- The yellow sections are only for the home page. To see the Home page sections you must have a different pages for WordPress Front Page and GD Home Page. If they are the same page, only the GD template will be shown.
| Logo |
Header Right widget area |
| Menu section |
| Home Featured Right widget area |
Home Featured Left widget area |
| Home Top widget area |
| Home Middle widget area |
| Home Bottom widget area |
| Footer 1 widget area |
Footer 2 widget area |
Footer 3 widget area |
| Copyright text |
| Disclaimer widget area |
- A Secondary and Primary Sidebar widget area used on all WP pages and posts, depending on the Genesis layout selected at Genesis > Theme Settings > Select Default Layout.
- An After Entry widget area that is used after the content of a WP post on the WP post pages.
Is the Genesis Framework really required?
Yes, the Geo Travel – Genesis Child theme won’t work without the Genesis Framework.
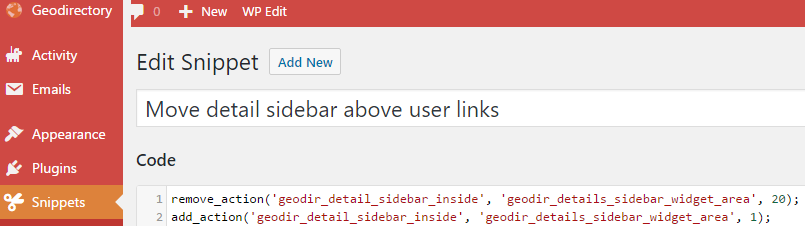
How do I change the footer area?
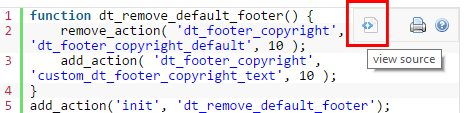
To change the footer text in the Geo Travel – Genesis Child theme, look for the following code in the functions.php file, and adjust as required.
[css]//* Add My Custom Footer Links[/css]
I added additional content to the GD Home page with a builder ,why doesn’t it show up?
The GD Home page content area will be overwritten by the GeoDirectory plugin when it renders the GD Home page. This will also effect your site home page, if you have your site home page set to the same page as “GD Home”.
Builders can be used on other WP Pages, but their content will be overwritten when used on the pages chosen in the GeoDirectory Permalinks settings.


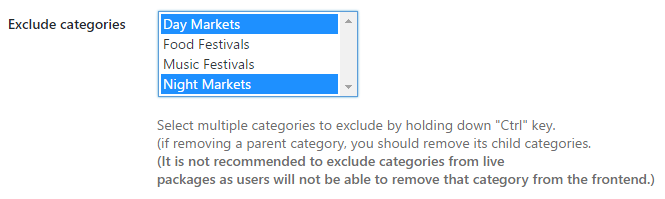
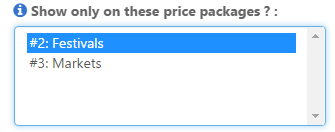


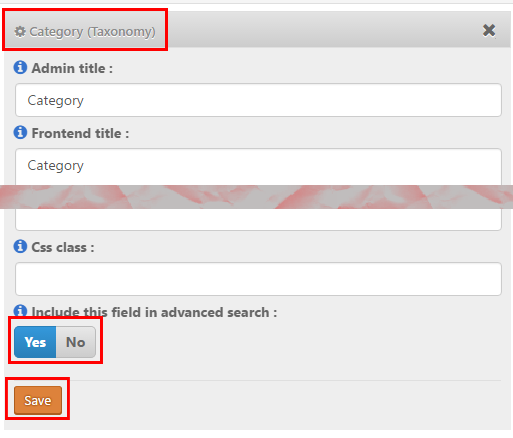
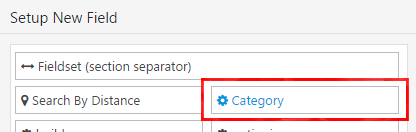
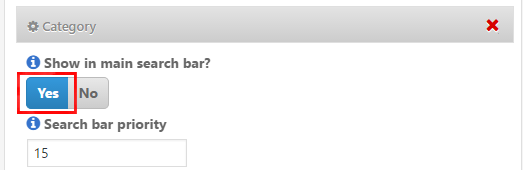
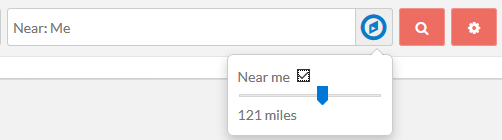
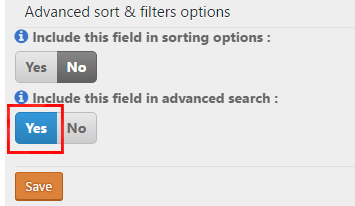
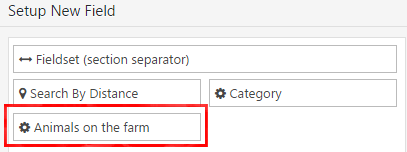
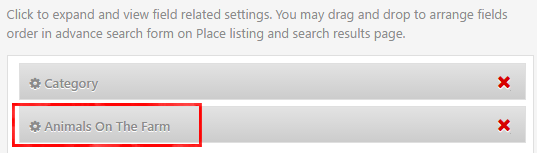
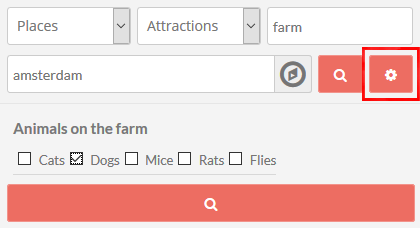
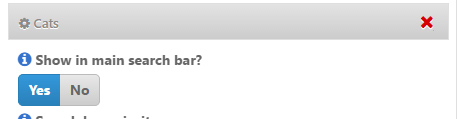
 This selector will only be shown if you have more than one
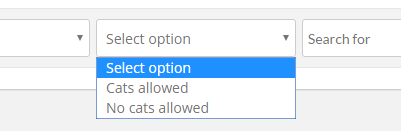
  The categories drop down can be set up for each Custom Post Type and the Advanced Search addon is required.