These are the sections you will find when you install the Location Manager:
Introduction and Location Settings tab – Manage Location tab – SEO Settings tab – Add/Edit Location tab – Translate Countries tab
On this page:
Introduction – City Neighbourhoods – Adding or editing locations – Merging locations
Introduction
- The Manage Location tab is where you can edit or merge locations, and add meta data for your location pages.
- Here you can also divide locations into neighborhoods.
City Neighborhoods
- Locations are based on the Google Maps API, and the size of cities (towns, suburbs or villages etc depending on the country) can vary greatly from country to country. Your locations need to be therefore always city > region > country, exactly like Google suggests when you add a listing from the frontend.
- In some countries, cities are divided into smaller sections, for example New York City is divided in the boroughs of Bronx, Manhattan, Brooklyn, Queens and Staten Island.
- The neighborhoods need to be manually added in the backend, and need to be manually selected by users adding listings.
Adding neighborhoods
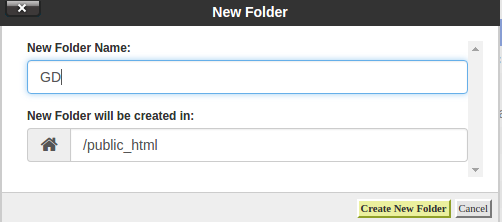
- For this example we will add the New York City boroughs as GD neighborhoods.
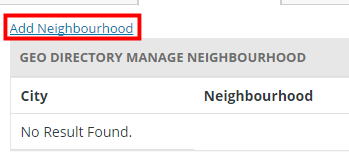
- At GD > Multilocations > Manage Location tab, find the city you want to add neighborhoods.

- Click on the plus sign + and then click on Add Neighborhood:
- Then add the name of the neighborhood, and Set neighborhood on map:
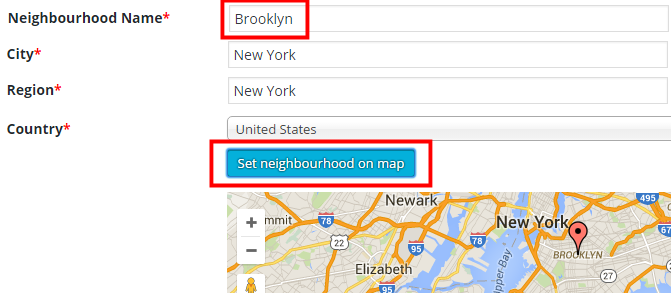
- Keep adding all neighborhoods.
Location switcher
- Your visitors will now be able to filter locations by neighborhood:

Adding listings
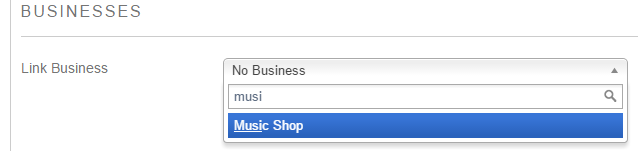
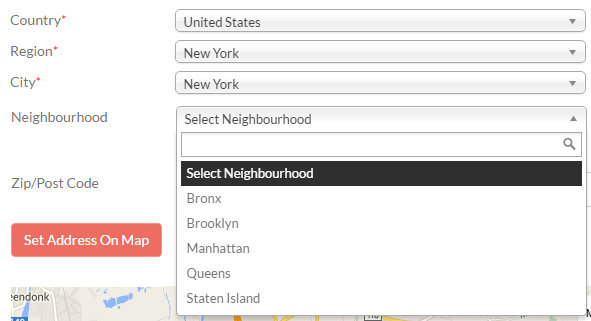
- Your users will now be able so select the neighborhoods when adding listings:
Adding or editing locations
- As part of your initial GD Core plugin, you should already have a default location set.
It is one of the compulsory basic installation steps. - Best practice is not to add locations here, because every location will have a page created and you will only end up with empty pages.
Wait for your users to add listings and locations will be automatically created as your users add listings from the frontend. - There might be some occasions when you need to modify a location. For example a location has been added that does not conform to what the Google Map API would have added, and you need to correct the spelling for example.
- Do not delete locations unless you have no listings in that location; deleting locations will delete all listings in the location!
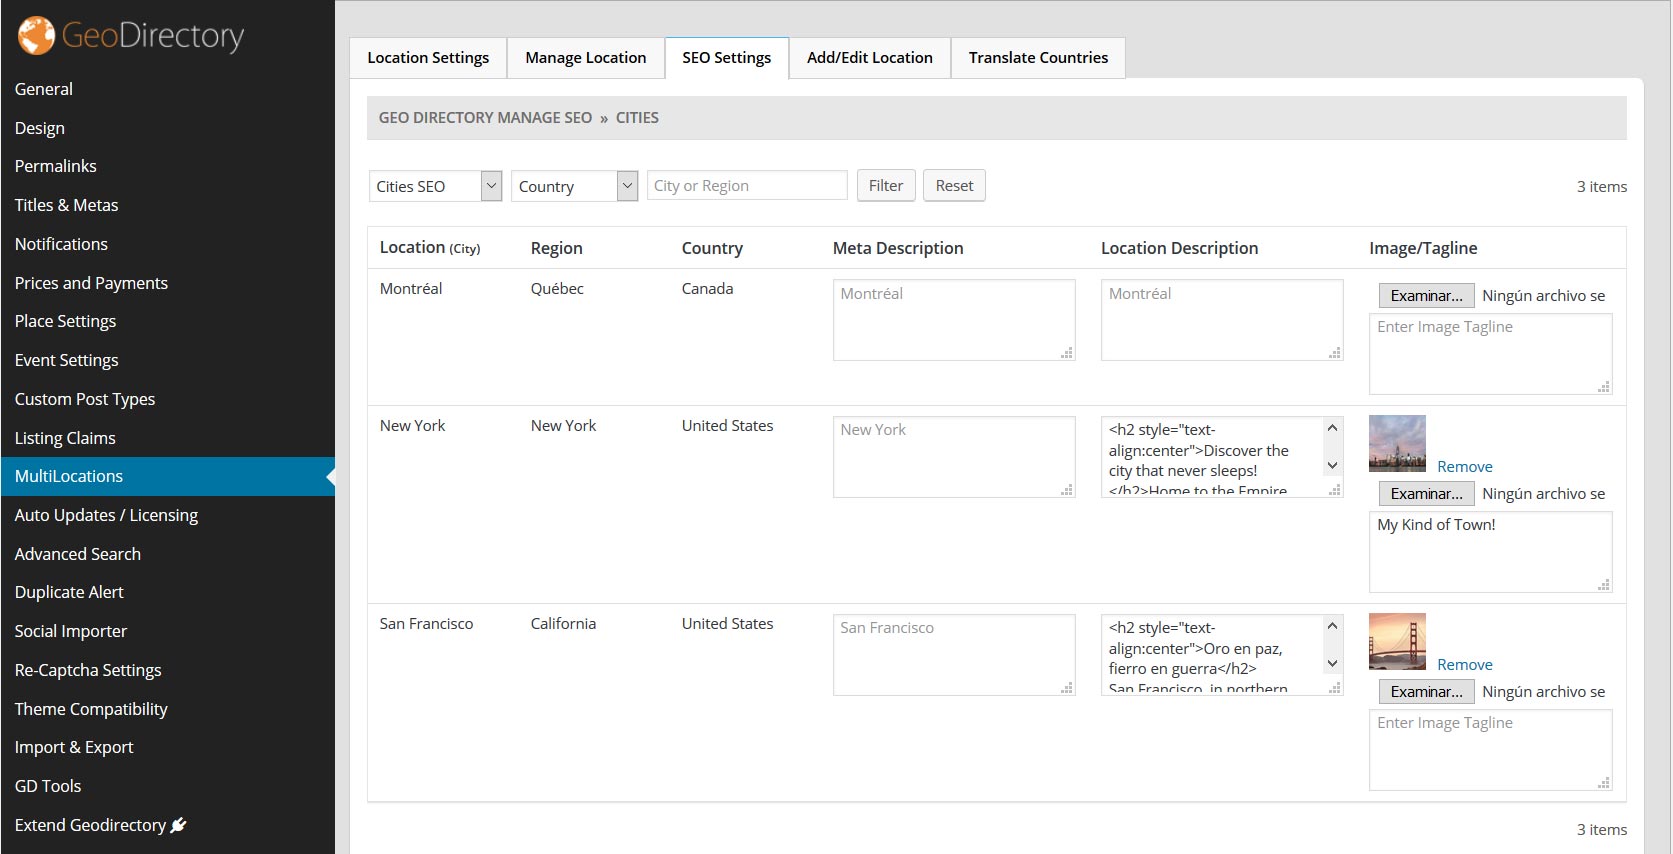
City Meta and City Description
- Towards the bottom of the editing page for each location, you will find City Meta and City Description fields.
Enter your data (you can use HTML in the City Description field):
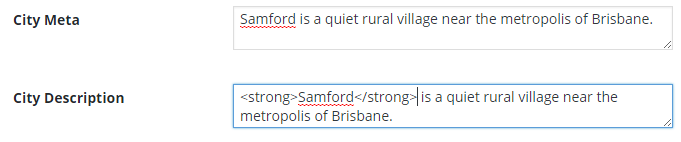
- The City Meta data will now be added to the source of the relevant location page:

- This information is also used for the GD > Location Description widget.
Merging locations
- Sometimes your users add locations to your database using different spelling than a location already in your database (for example LasVegas, Texas, US instead of Las Vegas, Texas, United States).
- Your GD database will treat this as two different locations.
- There is a tool to merge these two locations.
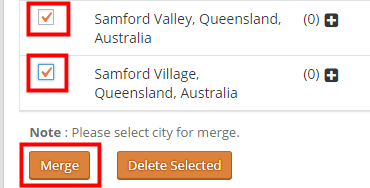
- From the Manage Locations tab, select the locations you want to merge.
- Scroll to the bottom of the page, and click Merge.
- On the next page, select the correct location you want to keep, and then click Set Primary.
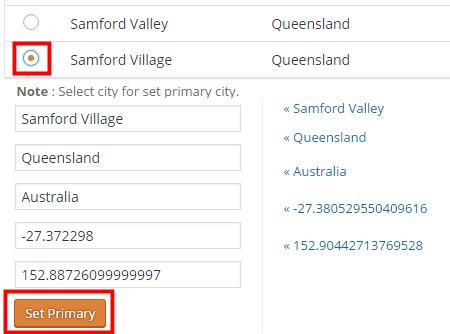
- That will re-assign the correct location to all your listings in any of the locations you merged.
- Do not delete a location because that will also delete any listings in that location!
- You can also use the above process to correct any of your locations: just add the correct location first and then merge with any incorrect locations.

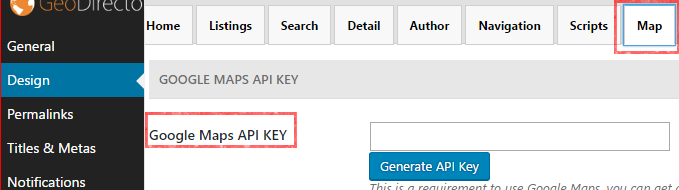
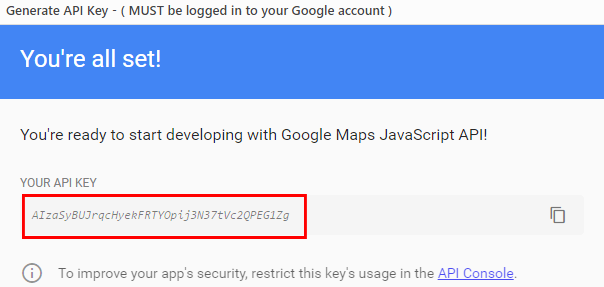
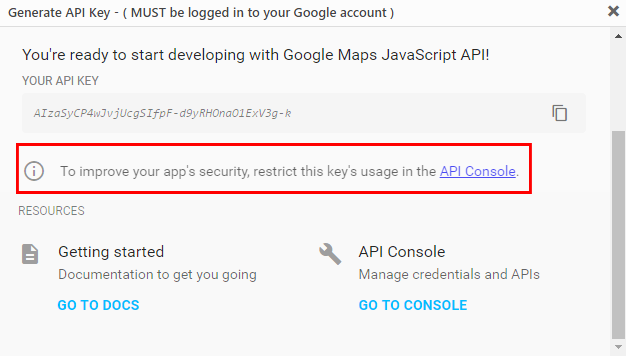

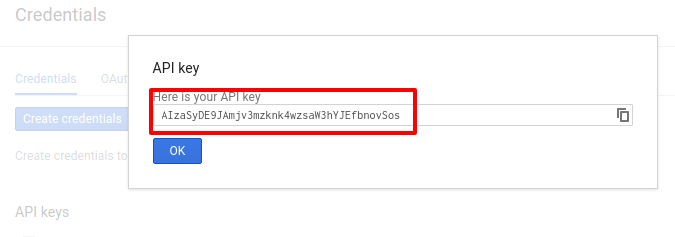
 You will then be presented with your API KEY: