These are the sections you will find when you install the GeoDirectory Core (free) plugin only:
Overview – General – Google Analytics – Design – Permalinks – Notifications – Set Default Location – Place Settings – Theme Compatibility – Import & Export – GD Tools
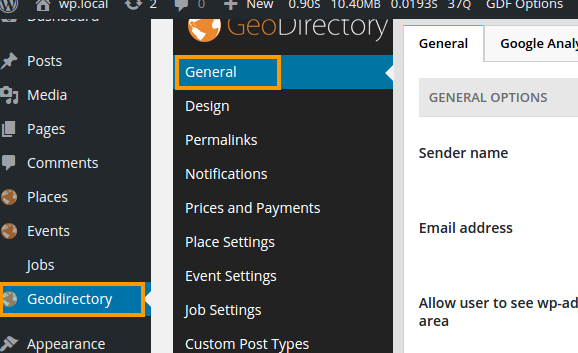
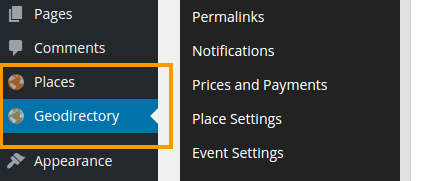
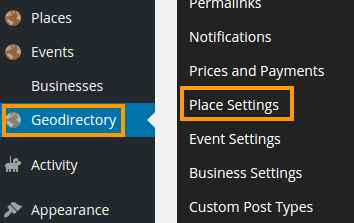
GeoDirectory > Place Settings
This part of the documentation explains the GD options at GeoDirectory > Place Settings
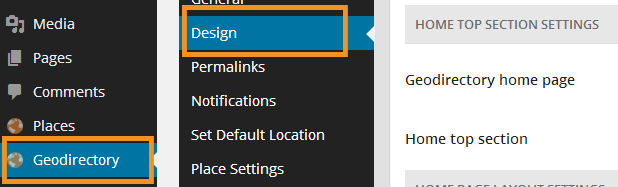
Further below is an image showing where to find the options, and this table links you to the details for each option:
| General | |
| Custom Fields | Common settings for Custom Fields – Fieldset – Text – Multi Select – Select – Textarea – Checkbox – Radio – URL – File Upload – Date – Time – Phone – Email – HTML |
| Sorting Options | |
General
- Places is the name of the default Custom Post Type (CPT) installed as part of the GD core installation.
- It is like the top category for listings in your GD directory.
- The information on this page is also relevant for any other CPT you install when you use the Custom Post Types add-on or the Events add-on.
Custom Fields
- When you go to GD > Place Settings, you will see a tab with Custom Fields.
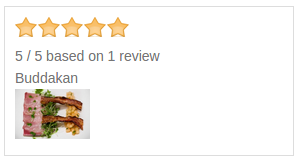
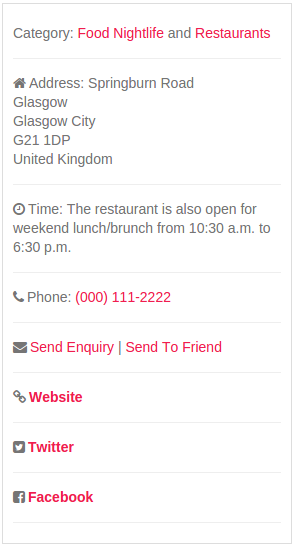
- You will see a number of default custom fields already, like Category, Address, Website etc.
- You can add also your own fields, by choosing from the list of available types on the left hand side.
Common settings for Custom Fields
| Admin title | This title is only used to give a name to the Custom Field in the Custom Field settings area. | ||||
| Frontend title | This title is used on both the submission form and on the page where you choose the field to be displayed. | ||||
| Frontend description | Will be used on the submission form only, to help your users understand the information required. | ||||
| HTML variable name | Only used to create the custom field in your database. Do not use spaces or special characters for this! |
||||
| Is active | Turns the field on or off across your site. | ||||
| For Admin use only? | Choosing YES here, will not allow your users to edit the field; only administrators will be able to edit this field. This option is only available for custom fields you create yourself, not for the default GD fields. |
||||
| Default value | A value used if the user does not enter anything. Only relevant for some Custom Field types. |
||||
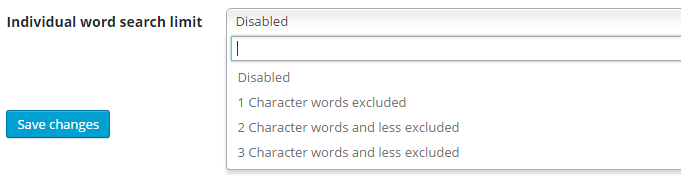
| Show in what locations? | Options here include:
|
||||
| Show only on these price packages? | This will only show if you have the Prices and Payments add-on activated. You can choose which price packages will be able to add this custom field. If you have chosen the allowed fields in the price package itself already, then you do not need to set this again. |
||||
| Is required | Setting this to YES will make the field compulsory. | ||||
| Required message | If you set Is required to YES, then enter a message that will be displayed if the field is left empty. | ||||
| Upload icon | You can enter the URL of an icon you uploaded, or you can use a font awesome class. Examples:
|
||||
| CSS class: | Here you can add a styling class that will be applied to the custom field when it is displayed on your site. Every custom field is displayed in its own <div>, and the class will be added to that. |
||||
| Include this field in sort option | This will allow for listings on your listings and search pages, to be sorted by this field. Read more at Sorting Options. | ||||
| Include this field in advanced search | This will only show if you have the Advanced Search add-on activated. This will add the custom field as a possible filter to the GD Search. |


Fieldset
- A fieldset helps you to group your custom fields.
- It is very much like a heading or a divider.
- A fieldset is only used to display on your pages, users cannot add data to it.
- If you select Details page own tab at the Show in what locations? selections, then a new tab will be created for the custom fields ordered under this fieldset, and which also have Details page own tab selected.
Text Custom Field
- Character type:
- Choose this type of field and your users will be able to enter any combination of letter, numbers, symbols etc.
- Number type:
- This type will return any number as a whole number only.
- For example if you enter 55.65, the field will display 55.
- Decimal type:
- This type will return any number with your choice of numbers behind the decimal point.
- For example if you have selected the decimal point as 3, and you enter 49.2, the field will display 49.200.
Multi Select Custom Field
- The Multi Select field allows your users to select a number of entries from a list you create.
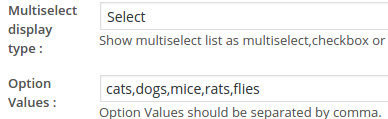
- You have the choice of three display types: Select, Checkbox and Radio.
- Both Select and Checkbox allow your users to choose more than one item from your list.
- The Radio display type is used if your users should be restricted to one selection only.
- You cannot use the following characters as part of your options: forward slash / or a comma ,
(these characters are reserved for separating options and code). - Do not leave spaces between values when separated with commas.
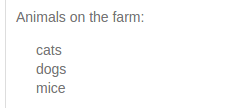
- This is an example of a setup of a Multi Select custom field
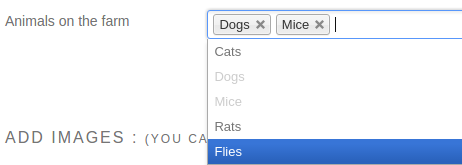
- This is how that would look on the submission form:
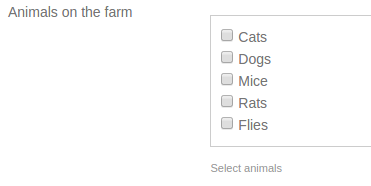
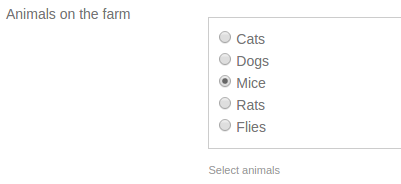
- The same setup, but with Checkbox as the display type, would look like this on the submission form:
- And this would be the result on the listing:
- Using the same settings as above, but adding gd-comma-list in the CSS class field, the output would look like this:

- Using the Radio display type, only one choice will be possible:
Select Custom Field
- The Select Custom Field allows your users to select one option only from a list.
- Select Custom Fields can also be added to the GD Search Bar.
- You cannot use the following characters as part of your options: forward slash / or a comma ,
(these characters are reserved for separating options and code). - Example 1:
- Frontend Title: Serving
- You can allow a number of possible choices
- Option values: Coffee,Tea,Coffee and Tea
- When adding the listing, the user can choose only one of these choices (assume they choose “Coffee and Tea”, and the result will look like this:

- Example 2:
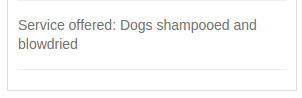
- Frontend Title: Service offered
- You can enter the possible choices as options, and add more detailed text to be printed on the detail page
- Option values: Dog walking/We will walk your dog,Dog washing/Dogs shampooed and blowdried
- When adding the listing, this is what the user sees:

- The user can choose only one of these choices (assume they choose “Dog washing”, and the result will look like this:
Textarea Custom Field
- A textarea field allows for free-flowing text.
Checkbox Custom Field
- This allows a user to simply check a box, and then it will add the custom field title and the word Yes to the listing.
- Example:

Radio Custom Field
- Similar to the Select Custom Field, but only requires a radio button to be selected.
- Do not leave spaces between values when separated with commas.
- Example:
- Frontend Title: Available
- You can allow a number of possible choices, but the user can only select one of them
- Option values: Beer,Wine,Beer and Wine

URL Custom Field
- Allows your users to add additional links to their listing.
- Example 1:
- Frontend Title: Click here to visit our forum
- If they then enter their URL, it will look like this and will be linked:

- Example 2:
- Frontend Title: Click here
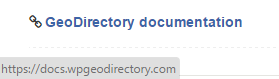
- Your users can create links in this format: URL|anchor text
- For example when entering https://wpgeodirectory.com|GeoDirectory documentation, it will add a link like this:
File Upload Custom Field
- Allow your users to upload most types of file.
- You can select the type of file that can be uploaded: Image, video, audio files and document types.
- Example:

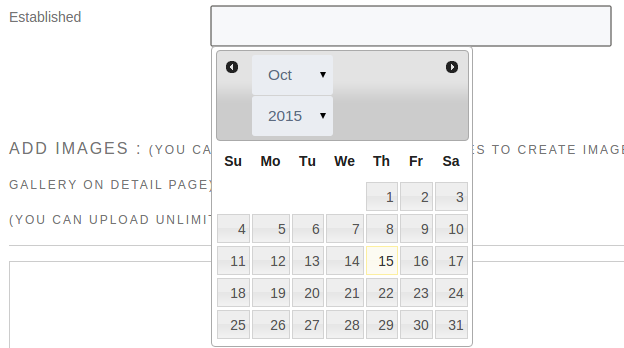
Date Custom Field
- This will add a date picker to the Add Listing form.
- You can choose how the date will be displayed by adjusting the date format field:
- dd/mm/y = 02/10/15
- mm-dd-yy = 10-02-2015
- dd-M-yy = 02-Oct-2015
- Example on Add Listing form:
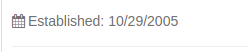
- Result on detail page:
Time Custom Field
- Similar to the date field, the Time custom field will allow your users to select a time of day.
Phone Custom Field
- This field will make any phone number entered clickable and will connect with the relevant application on the device where the visitor is browsing your website.
- For example, this allows you to add extra phone fields for cell phones or office phone etc, in addition to the default phone field.
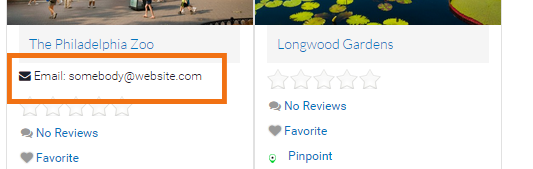
Email Custom Field
- This field will just print an email address as part of the listing.
- This is not the same as the default custom field for each listing, which will accept an email and create an online contact popup with a hidden email address.
- Example:
HTML Custom Field
- This will add a textarea complete with a visual and text rich text editor, just like your post or page editor in your WordPresss admin area.
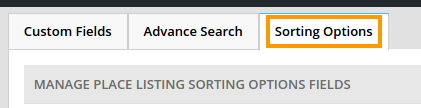
Sorting Options
In your Place Settings (or the settings of any other Custom Post Type) you have a tab called Sorting Options.
- The Sorting Options control how listings are ordered on your Listings (category) pages and in your search results.
On the Search pages, only the default sort order will be used, and only if no keywords were used in the search. - On the left hand side of the settings page, you will find a number of sorting options ready for you:
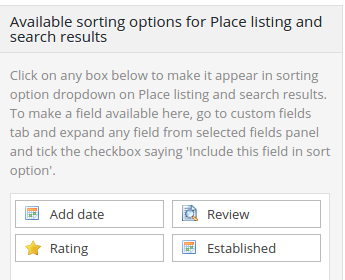
- You can add more options by going to your Custom Fields, and ticking the Include this field in sort option checkbox for the custom field you want to add to the sorting options.
- Click on any of the available sorting options on the left to make them available for sorting on your listings pages. Only the default option will be used in your search results.
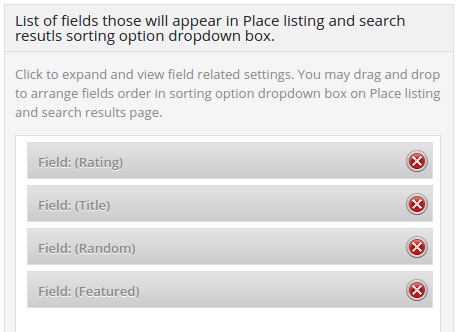
- That will move the sorting options to the right hand side of the options page, and now you can edit the settings for the sorting options you have chosen.
Example:
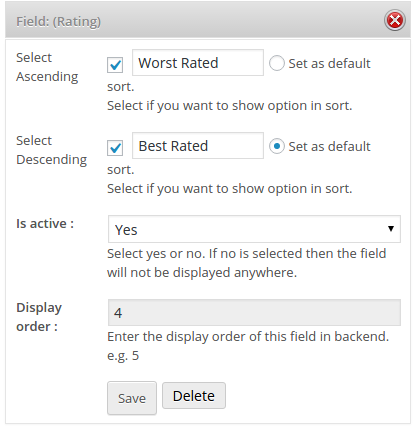
- Edit the settings by clicking the sorting option, and then save.
You can drag and drop the different field types to change the order in the sorting drop down on your pages.
Setting one of the options as default, will automatically sort by that option.
Example:
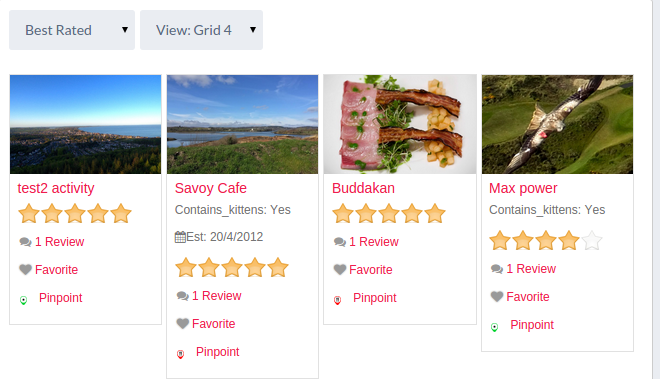
- And here is an example of how it all would look on your website: